Your backyard can become the vacation destination you've been dreaming about—without the travel costs, planning stress, or time away from home.
Share:
Summary:
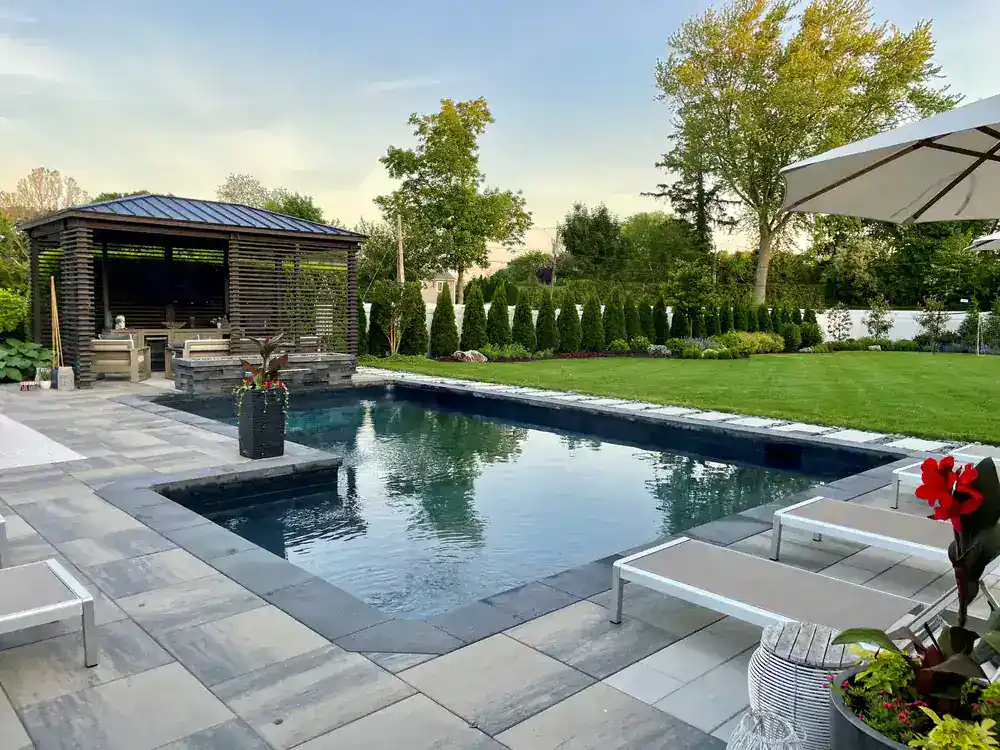
Real resort-quality backyards aren’t packed with every trendy feature. They focus on a few core elements that work together.
First, they have defined zones. A cooking area separate from dining. A lounging space that doesn’t compete with foot traffic. Maybe a fire pit positioned where people naturally gather. When each area has a clear purpose, the whole space feels more intentional.
Second, they use durable materials that don’t demand constant attention. Long Island’s coastal conditions—salt air, freeze-thaw cycles, temperature swings—destroy cheap materials fast. The right paving, decking, and finishes mean you’re using the space instead of maintaining it.
Third, they extend your living space in a way that makes sense. If your family actually cooks outside, an outdoor kitchen matters. If you host often, a paver patio with proper seating beats a tiny deck. The best backyard transformations match how you live, not how a magazine says you should.
Paver patios are one of the smartest investments for Suffolk County homes. They handle freeze-thaw cycles better than poured concrete, they’re repairable if something shifts, and they come in enough styles to match any home.
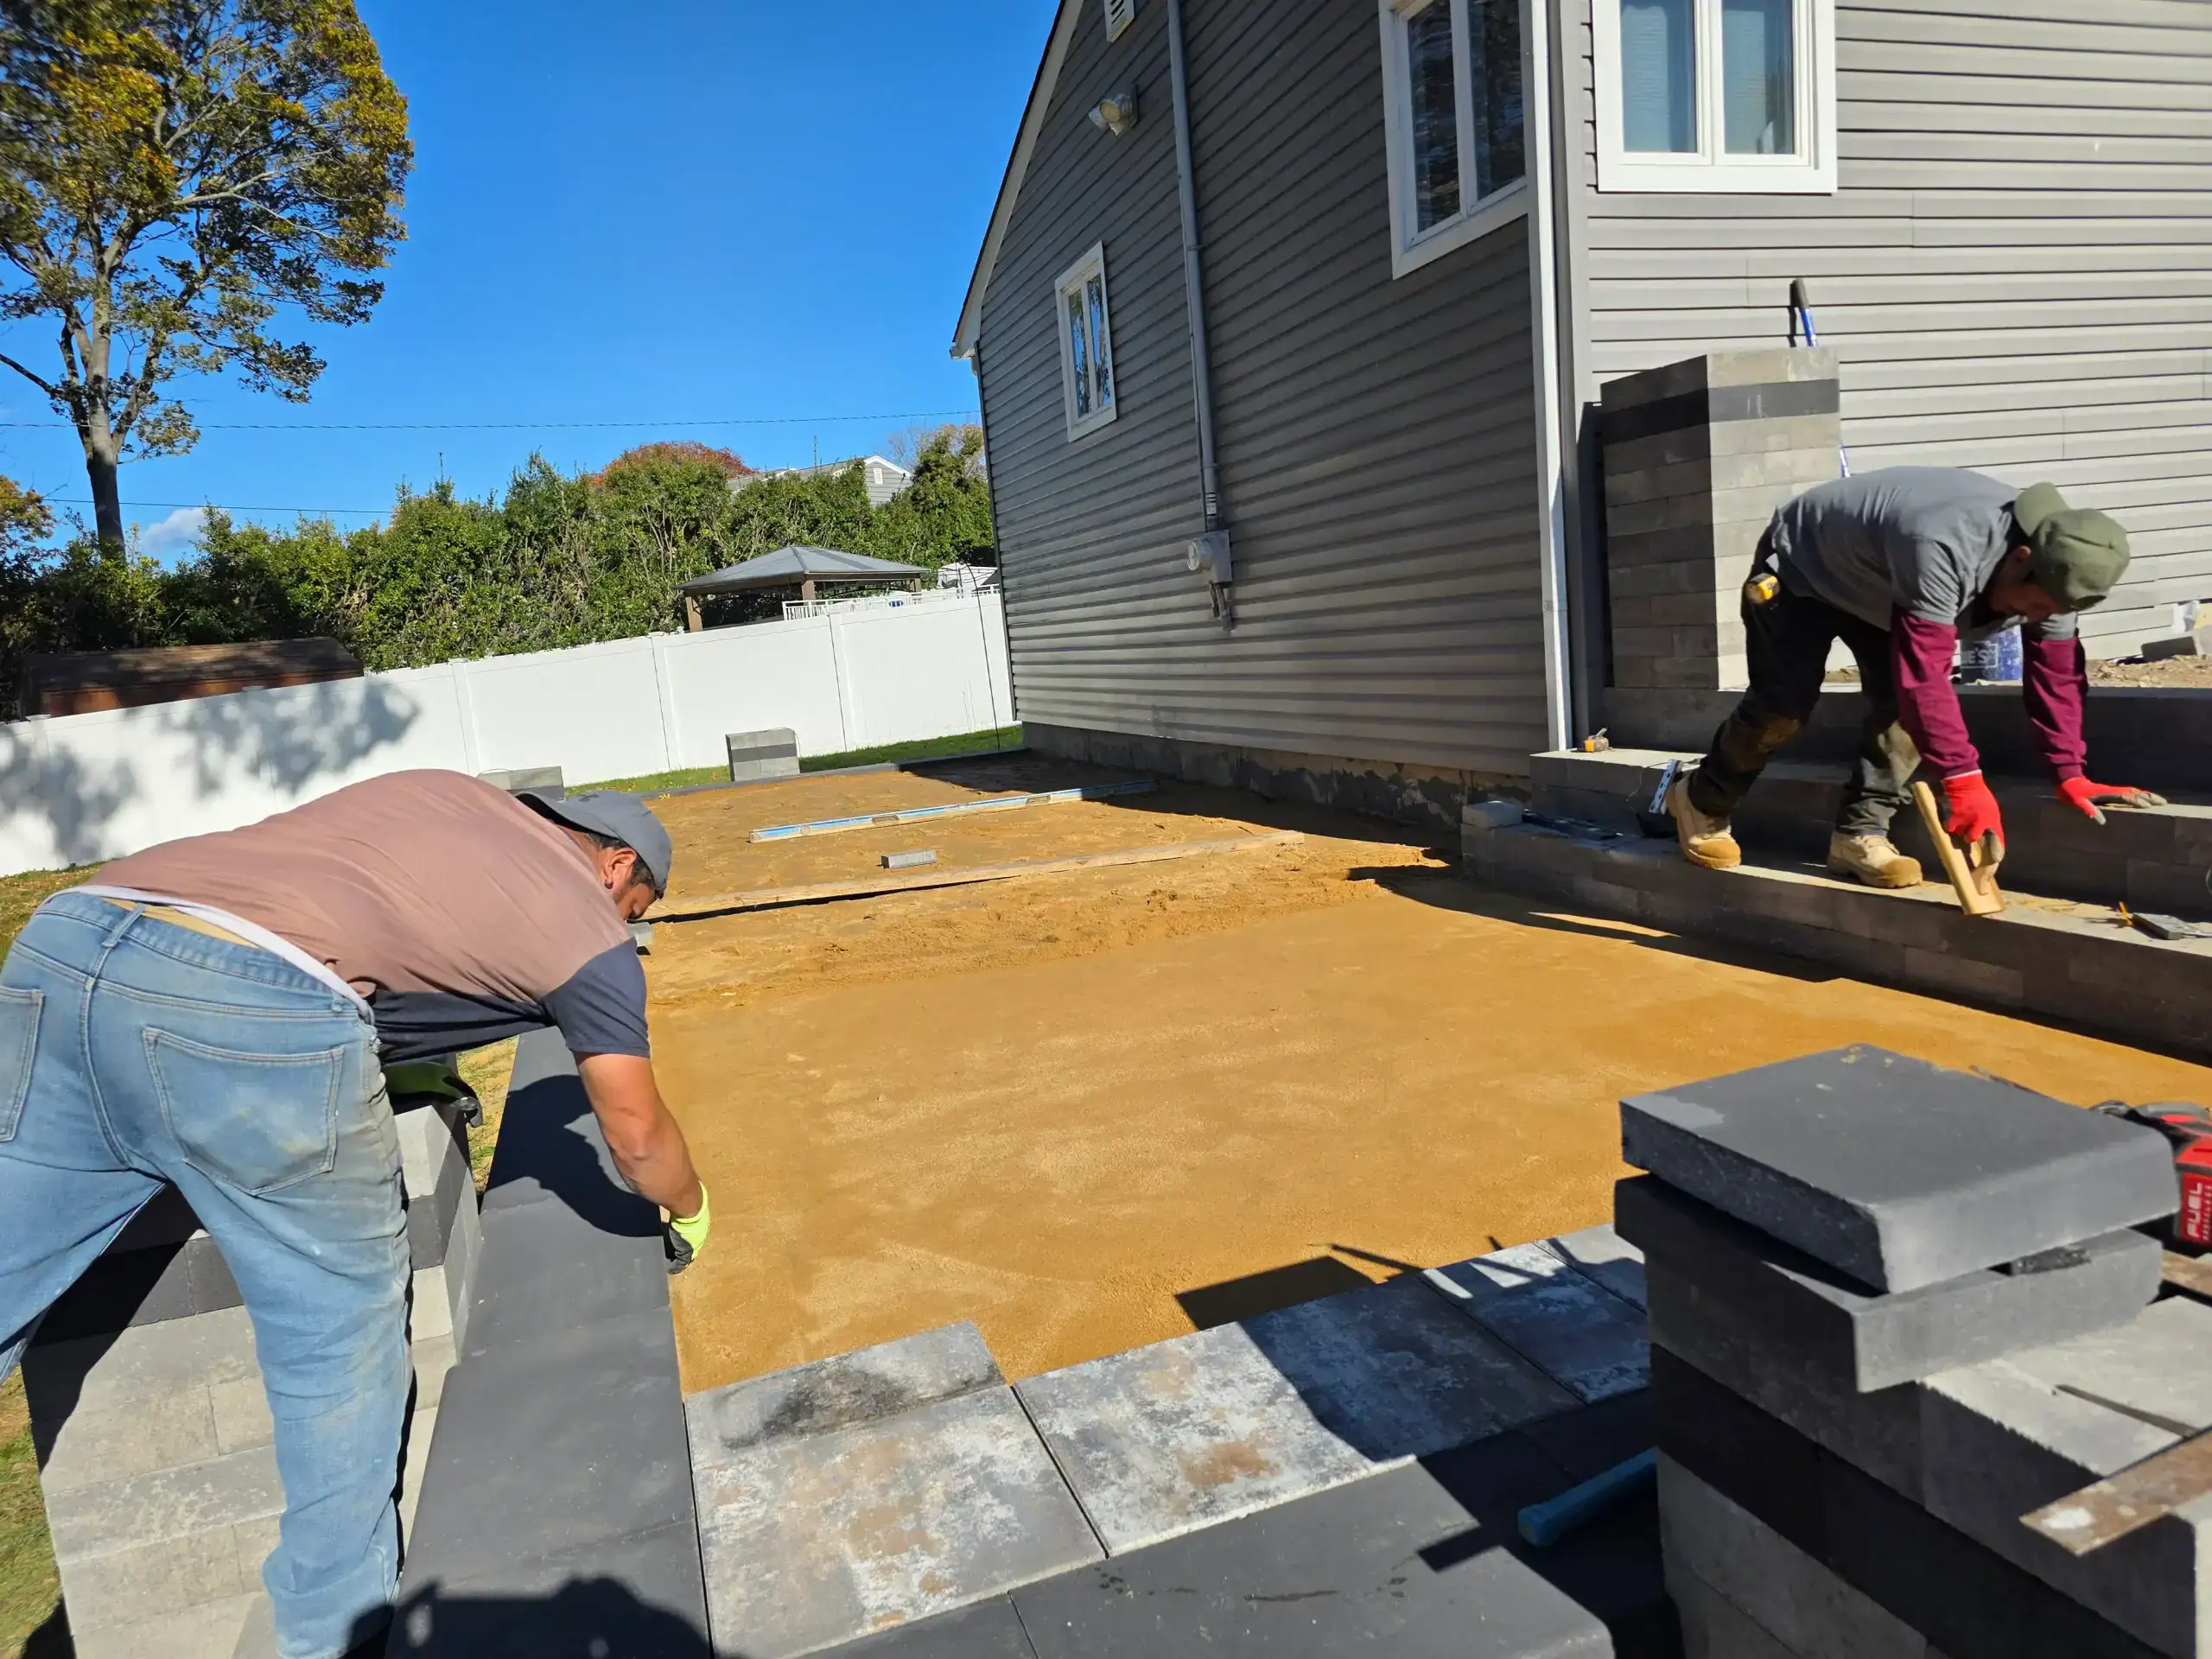
Installation takes about four to seven days for an average-sized patio. That includes excavation, proper base prep, laying the pavers, and finishing the joints. The base work matters more than most homeowners realize—it’s what prevents settling, drainage issues, and premature failure.
In Suffolk County, expect to invest between $30 and $45 per square foot for quality paver patio installation. That range accounts for material choice, site access, and complexity. A straightforward rectangular patio costs less than curved layouts or intricate patterns. Natural stone runs higher than concrete pavers, but both can deliver decades of use when installed correctly.
The process starts with excavation—removing soil to the right depth and verifying proper slope for drainage. Then comes the base layer, typically crushed stone or gravel, compacted in lifts to create a stable foundation. A sand bedding layer goes on top, screeded level to support the pavers. Edge restraints hold everything in place, and polymeric sand fills the joints to lock the pavers together and prevent weed growth.
Maintenance is minimal. A yearly sweep and rinse, checking joint sand levels, and sealing every three to five years keeps the patio looking sharp. If a paver cracks or stains, you replace that one piece—not the entire surface. That repairability is a major advantage over poured concrete, which cracks and requires full replacement.
One common question: how soon can you use it? Unlike concrete that needs a week to cure, pavers are walkable immediately after installation. You’re back to using your backyard without a long waiting period.
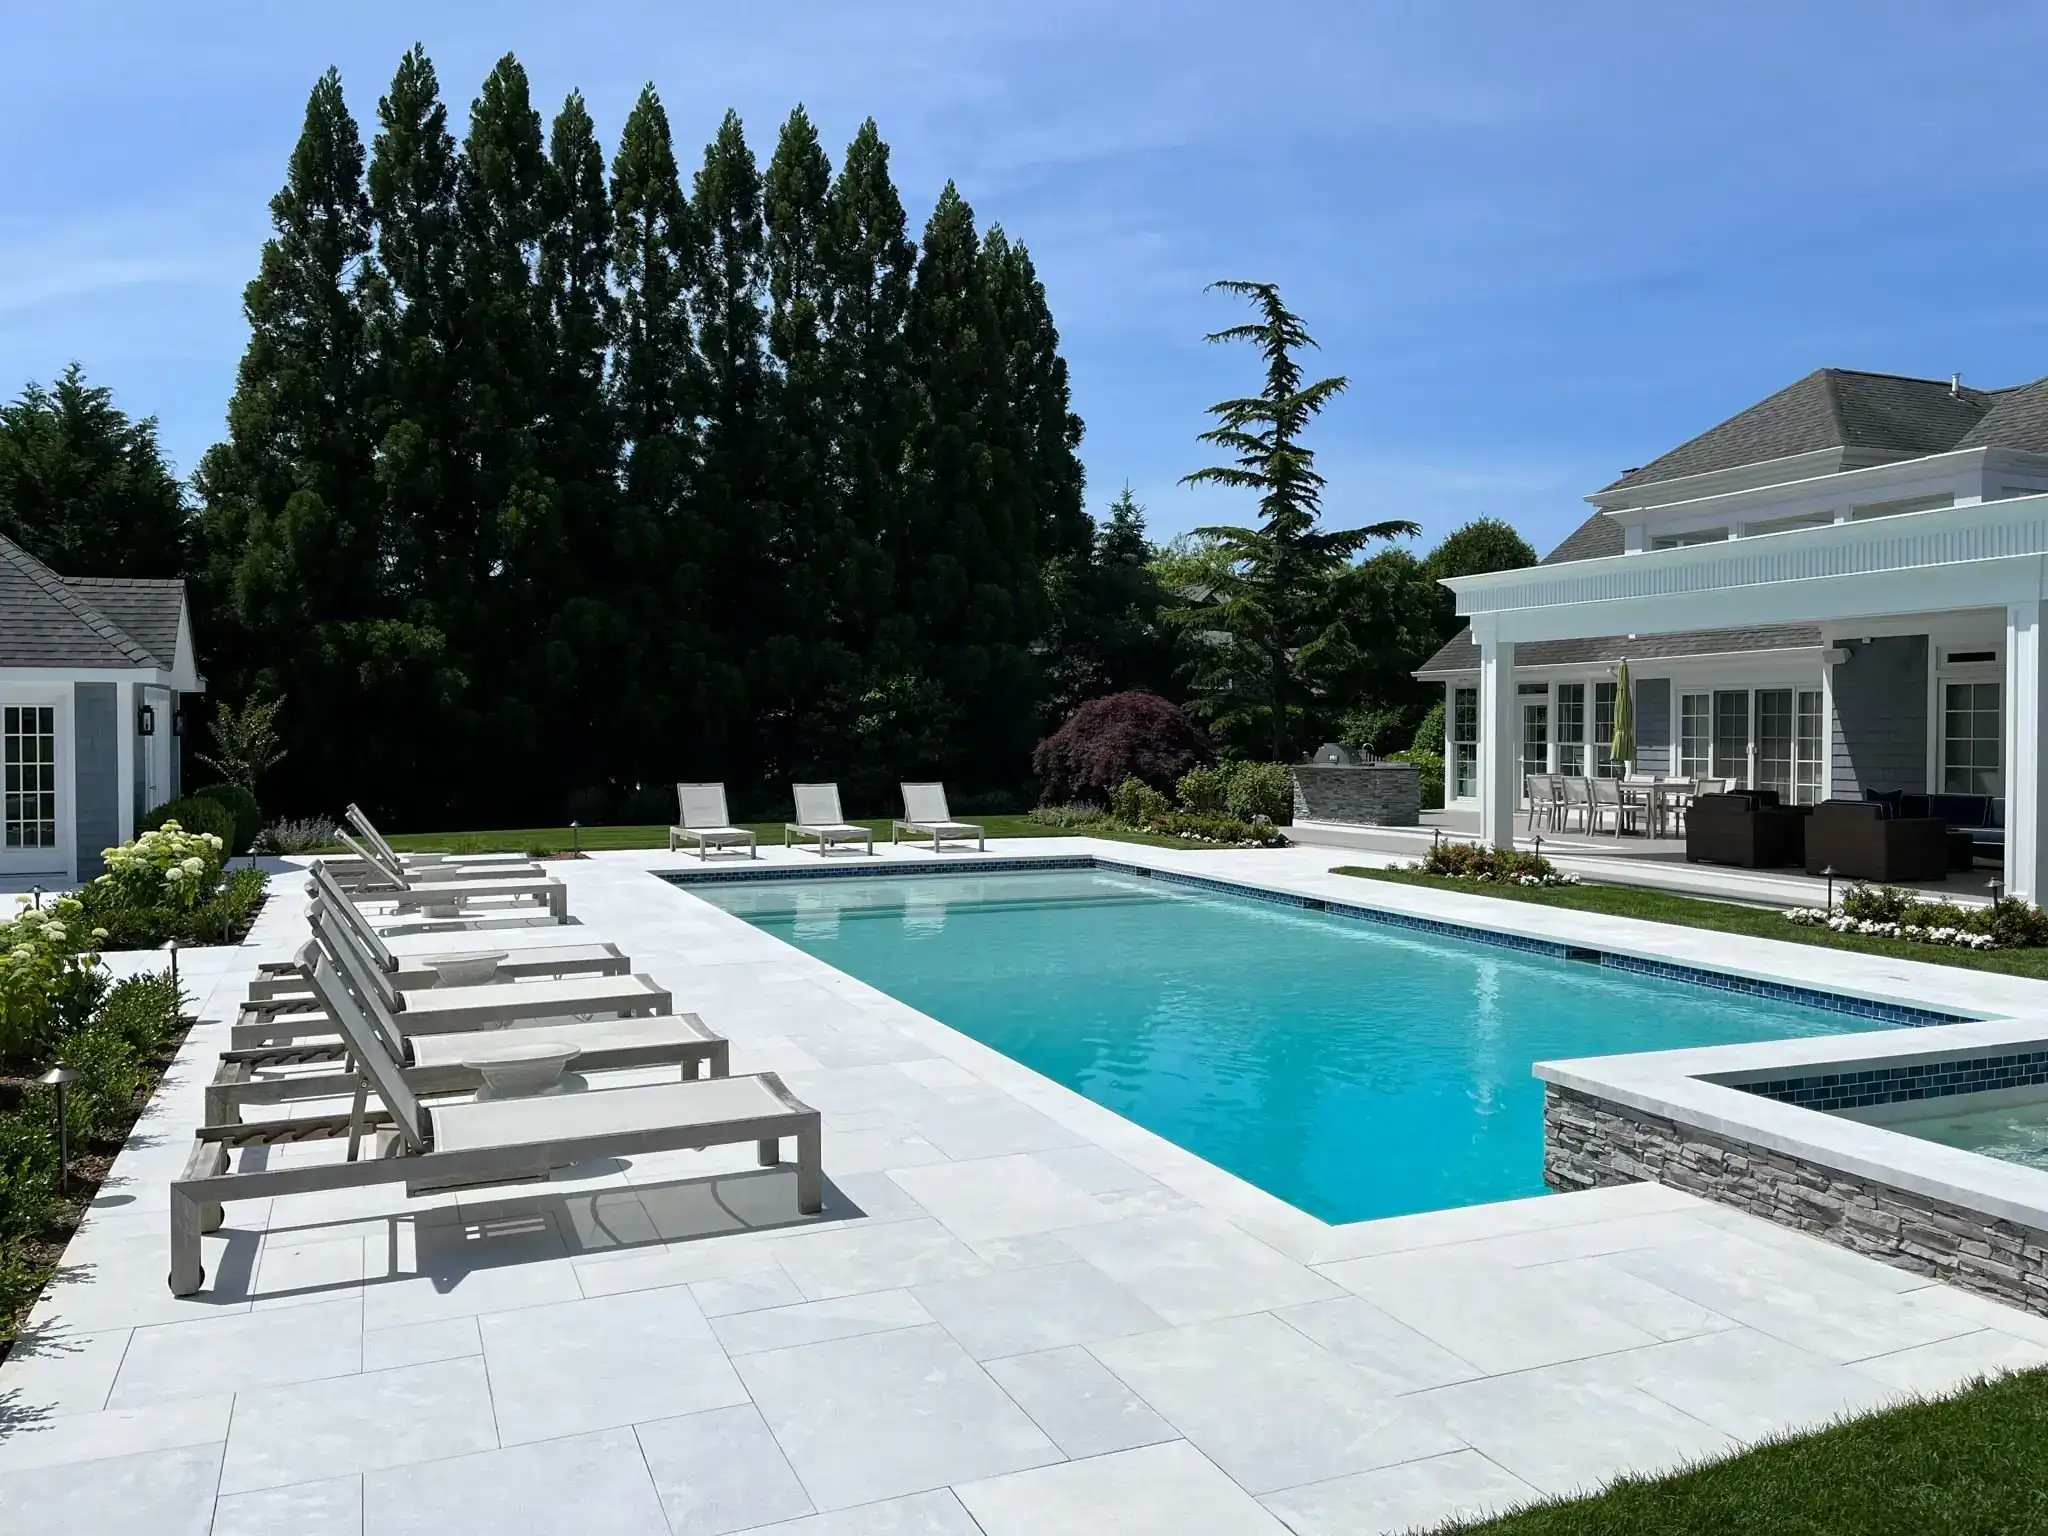
If you have a pool, the patio surrounding it defines how much you’ll use that space. Dated wood decks splinter, require constant painting, and deteriorate fast in wet conditions. Paver pool patios eliminate those problems while giving you a surface that stays cooler underfoot and handles water without getting slippery.
Pool patio installation requires extra attention to drainage. You’re pitching away from both the home and the pool to prevent debris from washing into the water during storms. The base prep involves poured concrete rather than just compacted stone, giving you the structural support needed around a pool. Coping—the material that caps the pool edge—gets installed before the pavers, and the type of pool (concrete, vinyl liner, steel wall) affects how that coping is secured.
Outdoor kitchens are seeing massive returns right now. Homeowners are reporting ROI between 100% and 200%, and properties with outdoor kitchens can see a 1.7% boost in selling price. That’s not just about the numbers—it’s about functionality. When you can prep, cook, and serve without running back and forth to your indoor kitchen, you actually use the space more.
A basic outdoor kitchen includes a built-in grill, counter space for prep work, and storage for utensils and supplies. More complete setups add a sink, refrigerator, and even a pizza oven. The key is building with materials that handle weather—stainless steel for appliances, granite or quartz for countertops, and weatherproof cabinetry.
Placement matters. Position your outdoor kitchen close enough to the house for convenience but far enough to keep smoke and heat away from windows and doors. You want easy access to utilities—gas lines, water, and electrical—without tearing up your entire yard to run new connections.
Covered structures like pergolas or pavilions extend the usability of outdoor kitchens. They provide shade during summer, protection from light rain, and a defined ceiling that makes the space feel more like a room. Adding lighting—task lighting over the grill and prep areas, ambient lighting for dining—means you’re not limited to daylight hours.
Want live answers?
Connect with a Corsino Construction expert for fast, friendly support.
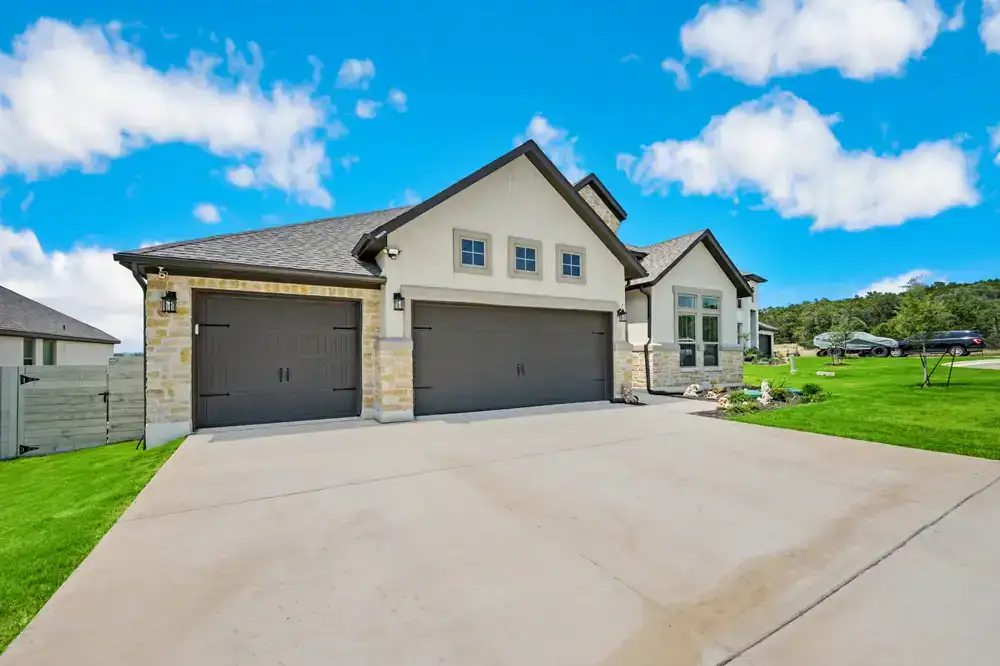
Your driveway is the first thing people see. If it’s cracked, stained, or uneven, it sets a tone before anyone reaches your front door. Driveway paving in Suffolk County isn’t just about looks—it’s about creating a surface that handles heavy vehicles, resists freeze-thaw damage, and doesn’t require constant repairs.
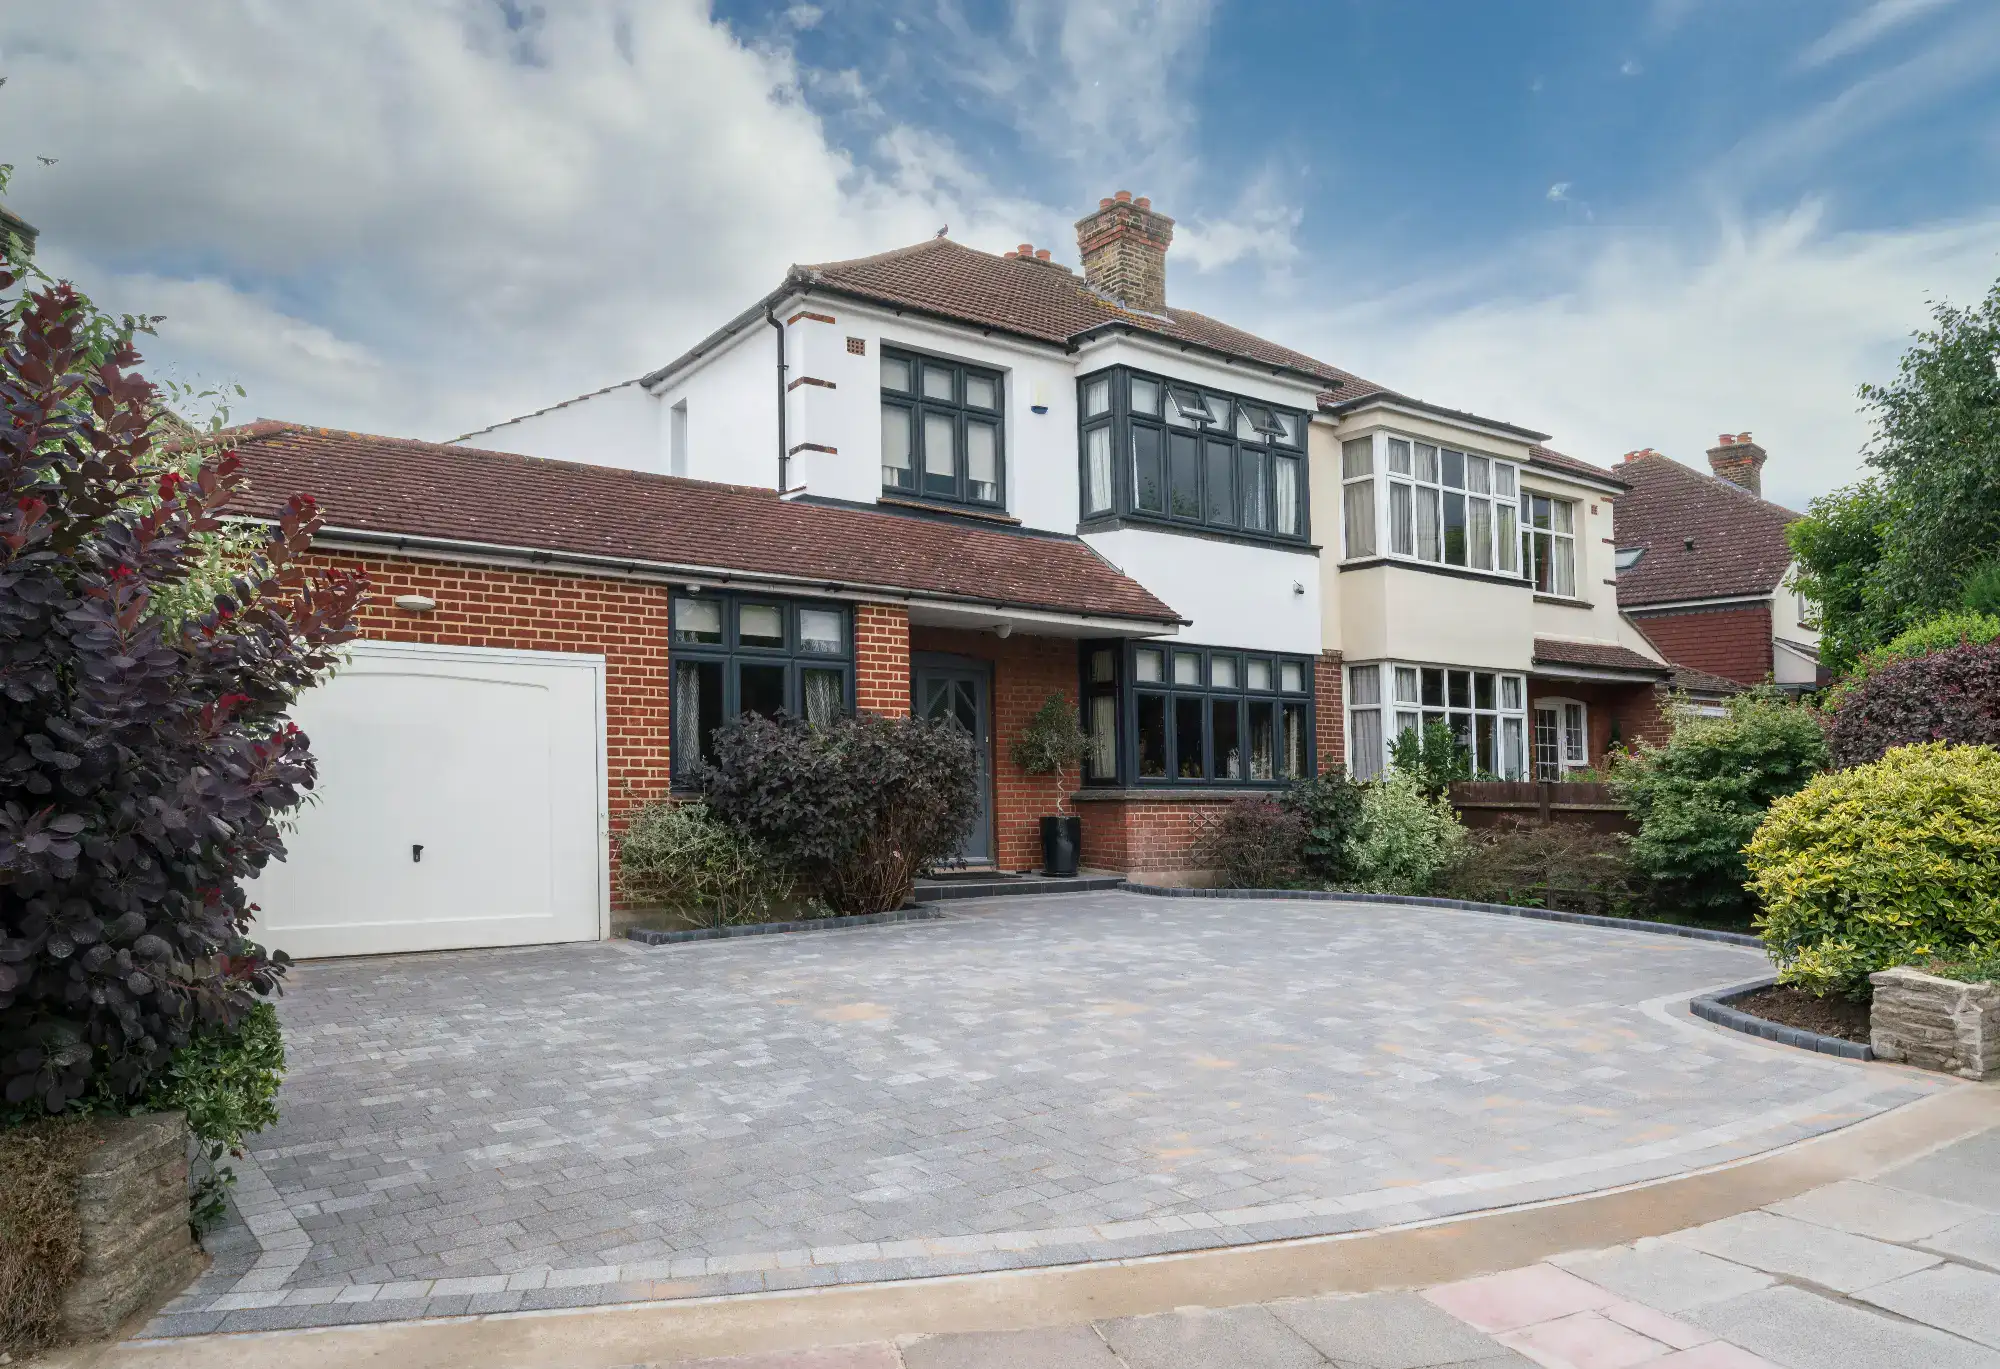
Paver driveways cost more upfront than asphalt but deliver better longevity and curb appeal. On Long Island, paver driveways run between $17 and $20 per square foot for concrete pavers. Asphalt is cheaper—$5 to $8 per square foot—but cracks more easily and needs resurfacing every 10 to 15 years. Pavers, when installed correctly, can last 25 years or more with minimal maintenance.
Walkway paving connects your driveway to your front door, side yard, or backyard spaces. Most walkway projects in Suffolk County fall between $3,000 and $4,500, depending on length, width, and material choice. Curved walkways with natural stone cost more than straight paths with concrete pavers, but both add functionality and visual interest.
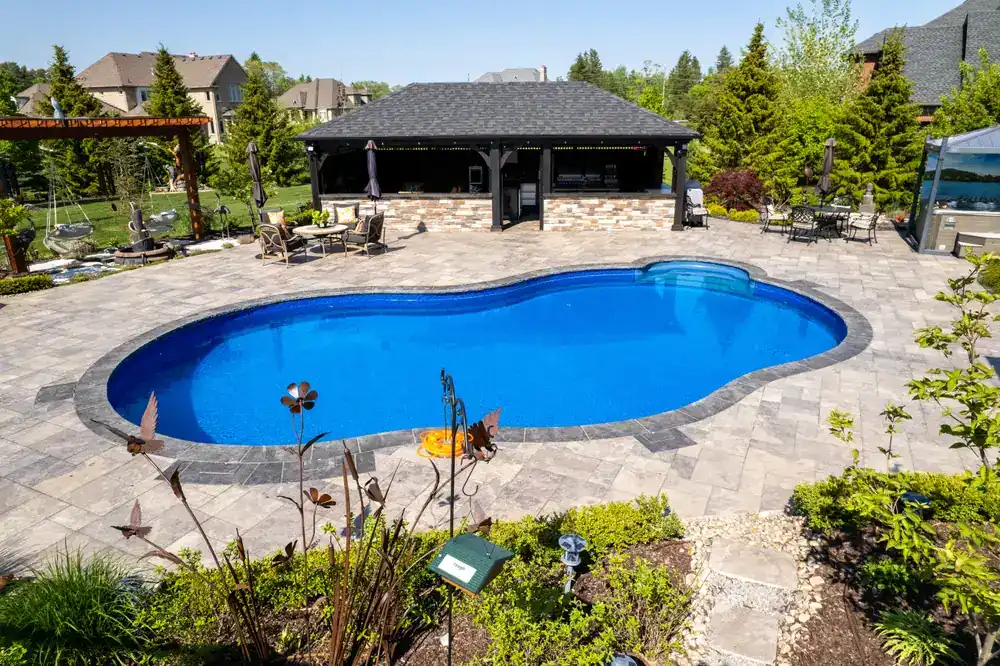
Material choice affects how your driveway or walkway holds up to Long Island’s coastal conditions. Concrete pavers are the most popular—they’re affordable, durable, and come in a wide range of colors and styles. They handle freeze-thaw cycles well and resist staining when sealed properly.
Brick pavers add a classic, timeless look. They’re slightly less durable than concrete but can still last decades when installed correctly. Natural stone—bluestone, flagstone, or granite—offers a high-end appearance and exceptional durability. Stone costs more and takes longer to install because each piece is irregular and requires custom fitting.
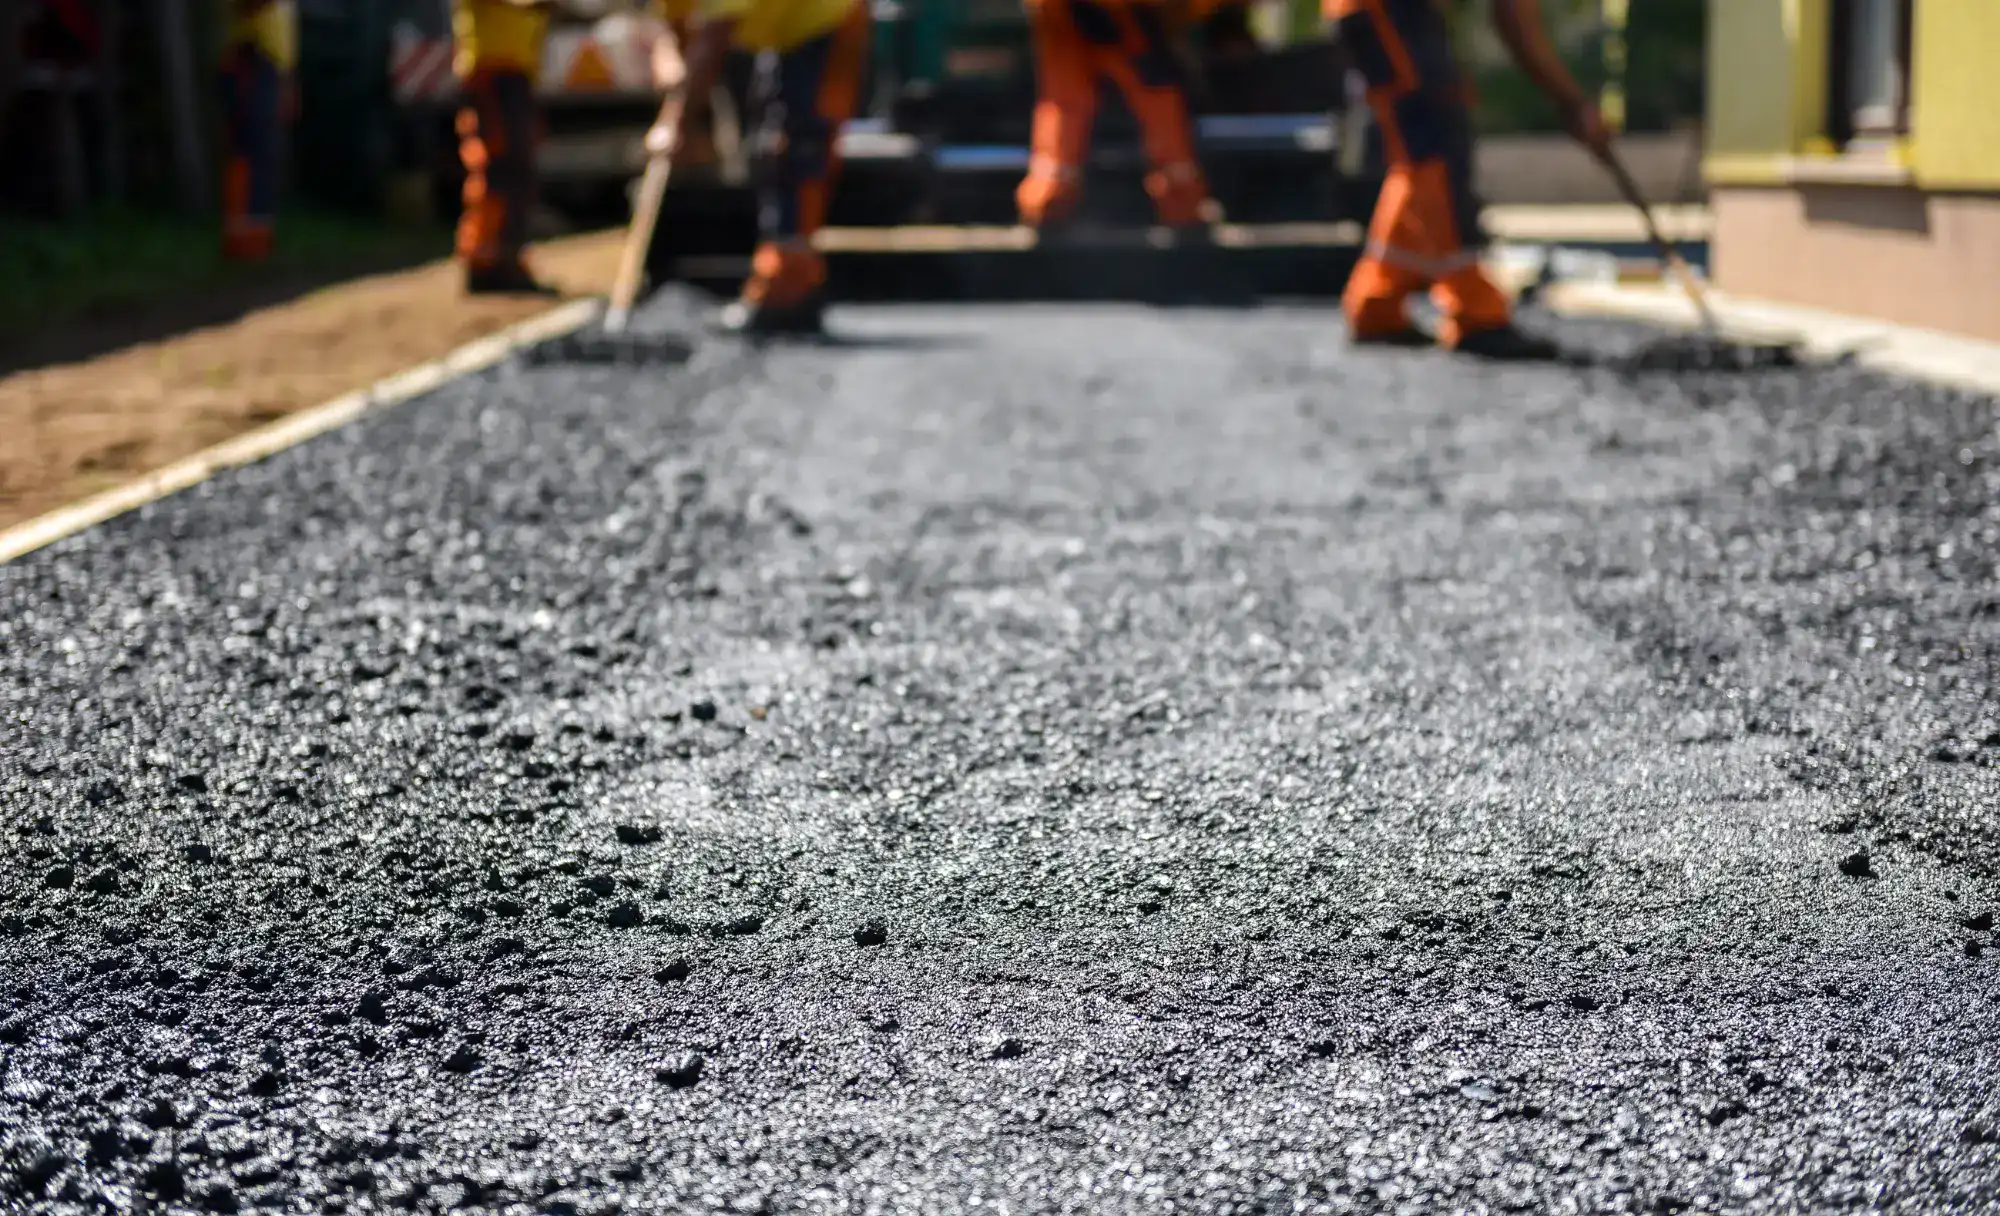
Asphalt is the budget-friendly option for driveways. It installs quickly, handles cold weather, and provides a smooth surface. The downside? It cracks over time, especially with freeze-thaw cycles, and offers limited design flexibility. Sealcoating every few years extends its life but adds to ongoing maintenance.
For walkways, consider how much foot traffic the path will see. High-traffic areas benefit from slip-resistant materials like textured concrete pavers or natural stone with a rougher finish. Low-traffic garden paths can use smoother materials or even gravel for a more casual look.
Suffolk County’s permit requirements vary by project scope. Most driveway replacements and new installations need permits. The process typically takes one to two weeks, and permit costs depend on the project type. Working with a contractor who knows local codes eliminates surprises and guarantees inspections go smoothly.
One factor homeowners overlook: drainage. Long Island gets heavy rain, and poor drainage leads to pooling water, ice patches in winter, and premature paving failure. Proper grading—sloping away from your home and toward drainage areas—is non-negotiable. Some projects require additional drainage solutions like French drains or catch basins.
Decks extend your indoor living space and create an elevated platform for entertaining, dining, or just relaxing. In Suffolk County, decks see serious use from spring through fall, and the right materials make the difference between a deck that lasts and one that needs replacing in a decade.
Composite decking has become the go-to choice for Long Island homeowners. It resists rot, mold, and insect damage—problems that plague traditional wood decks in humid coastal climates. Composite doesn’t require staining or sealing, and it holds up to temperature swings without warping. The upfront cost is higher than wood, but the maintenance savings and longevity make it worth it.
Wood decks, particularly cedar or pressure-treated lumber, still have a place. They offer a natural look and feel that some homeowners prefer. Wood requires yearly maintenance—cleaning, sealing, and checking for loose boards or nails. In salt air environments, wood deteriorates faster, so factor that into your decision.
Deck size and layout depend on how you’ll use the space. A small deck off the kitchen works for casual dining. A larger multi-level deck can accommodate cooking, dining, and lounging zones. Built-in seating, planters, and storage maximize functionality without cluttering the space.
Adding a pergola or covered structure over part of the deck provides shade and defines the space. Retractable awnings give you flexibility—open for sun, closed for shade or light rain. Fire pits or outdoor fireplaces extend usability into cooler months, creating a gathering spot that works beyond summer.
Lighting transforms a deck from daytime-only to an evening destination. Riser lights on stairs improve safety. String lights or bistro lights add ambiance. LED strip lighting under railings or built-in seating creates a modern, sophisticated look without overwhelming the space.
Railings matter for both safety and aesthetics. Cable railings offer unobstructed views and a contemporary feel. Traditional wood or composite railings match the deck material and provide a more classic look. Glass panels maximize sightlines but require more cleaning to stay clear.
One consideration: deck height and accessibility. Ground-level decks are easier to build and don’t always require railings. Elevated decks need stairs, railings, and sometimes additional structural support. The higher the deck, the more complex the build and the higher the cost.
Turning your backyard into a private resort comes down to smart planning, quality materials, and working with professionals who understand Suffolk County’s unique requirements. Regardless of if you’re starting with a paver patio, adding an outdoor kitchen, or replacing your driveway, the goal is the same: create a space that adds value to your home and gets used by your family.
The best backyard transformations don’t happen overnight. They start with a clear vision of how you want to use the space, a realistic budget, and a contractor who communicates clearly from start to finish. Permits, proper drainage, and materials built for Long Island’s coastal conditions aren’t optional—they’re what separate projects that last from ones that fail.
If you’re ready to stop scrolling through resort photos and start building your own outdoor retreat, we’ve been helping Suffolk County homeowners do exactly that since 2000. Our licensed in-house professionals, fixed pricing with no hidden fees, and commitment to job site cleanliness mean you get results without the typical construction headaches. Your backyard has potential—let’s make it happen.
Article details:
Share:
Continue learning: