Professional paver walkway installation in Suffolk County that eliminates concrete problems and tripping hazards while boosting your home's curb appeal.
Share:
Summary:
Your concrete walkway is cracking again. You’ve patched it twice this year, but Suffolk County’s freeze-thaw cycles keep creating new cracks that require constant maintenance. The uneven surfaces create tripping hazards, and the patches never match the original color.
There’s a better solution. Professional walkway paving lasts 25–30 years in Long Island’s climate while eliminating the endless cycle of concrete repairs. You’ll discover why proper installation makes all the difference and how the right approach transforms your entrance from a maintenance headache into a beautiful, functional pathway.
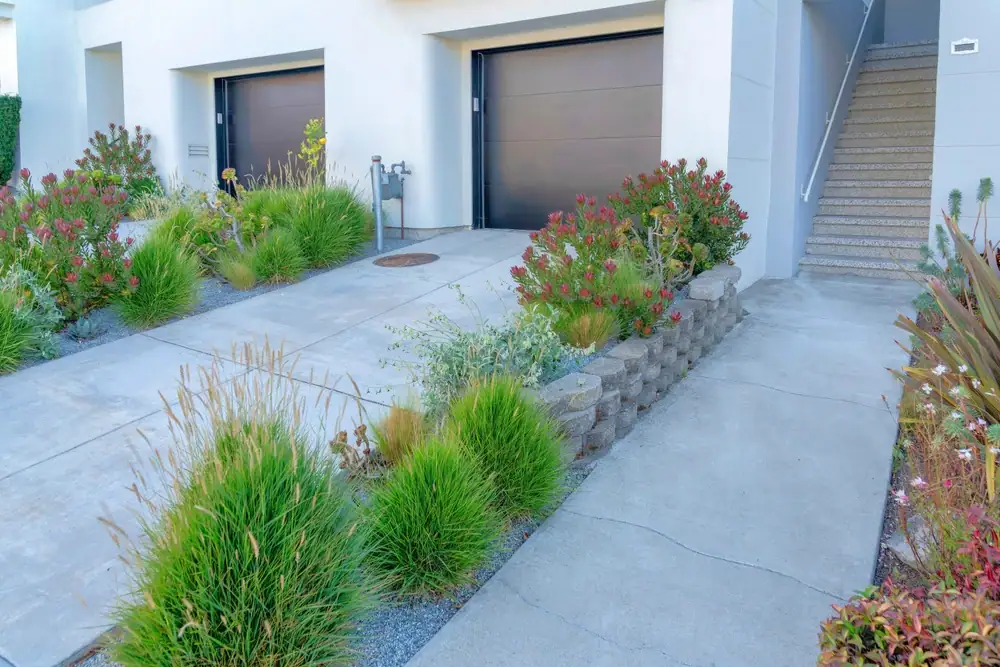
Concrete walkways in Suffolk County face constant freeze-thaw cycles that create cracks within a few years. The problem isn’t just aesthetic—cracked, sinking walkways create tripping hazards and liability issues that affect your family’s safety and your property’s value.
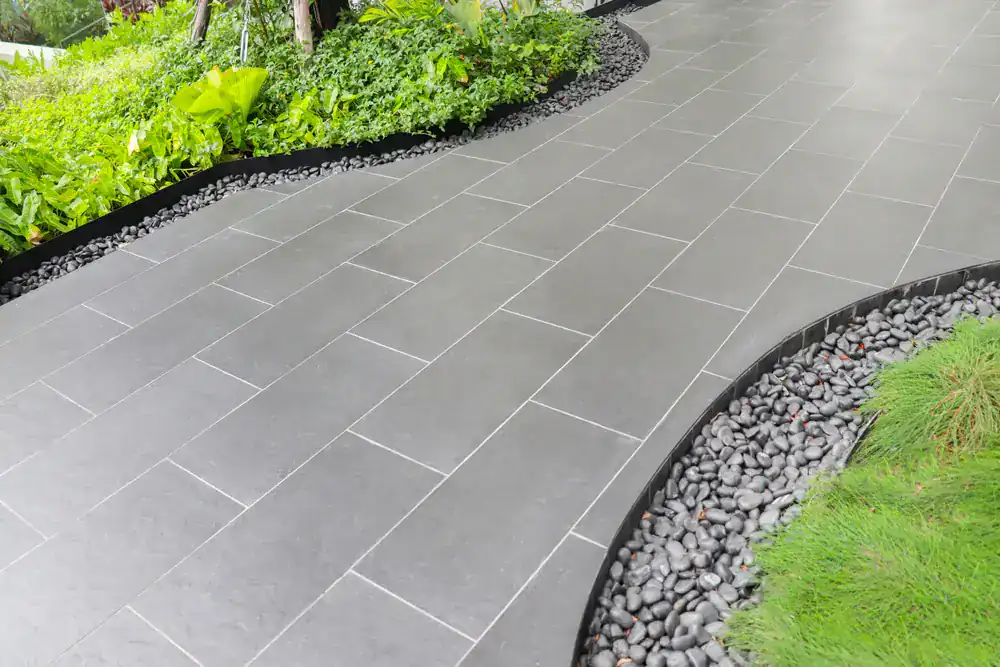
Paver walkways solve this by flexing with soil movement instead of cracking. When Suffolk County’s clay soil shifts or frost pushes things around, individual pavers adjust without breaking. The joints between pavers also allow water to drain instead of pooling on the surface, preventing ice formation and foundation water issues.
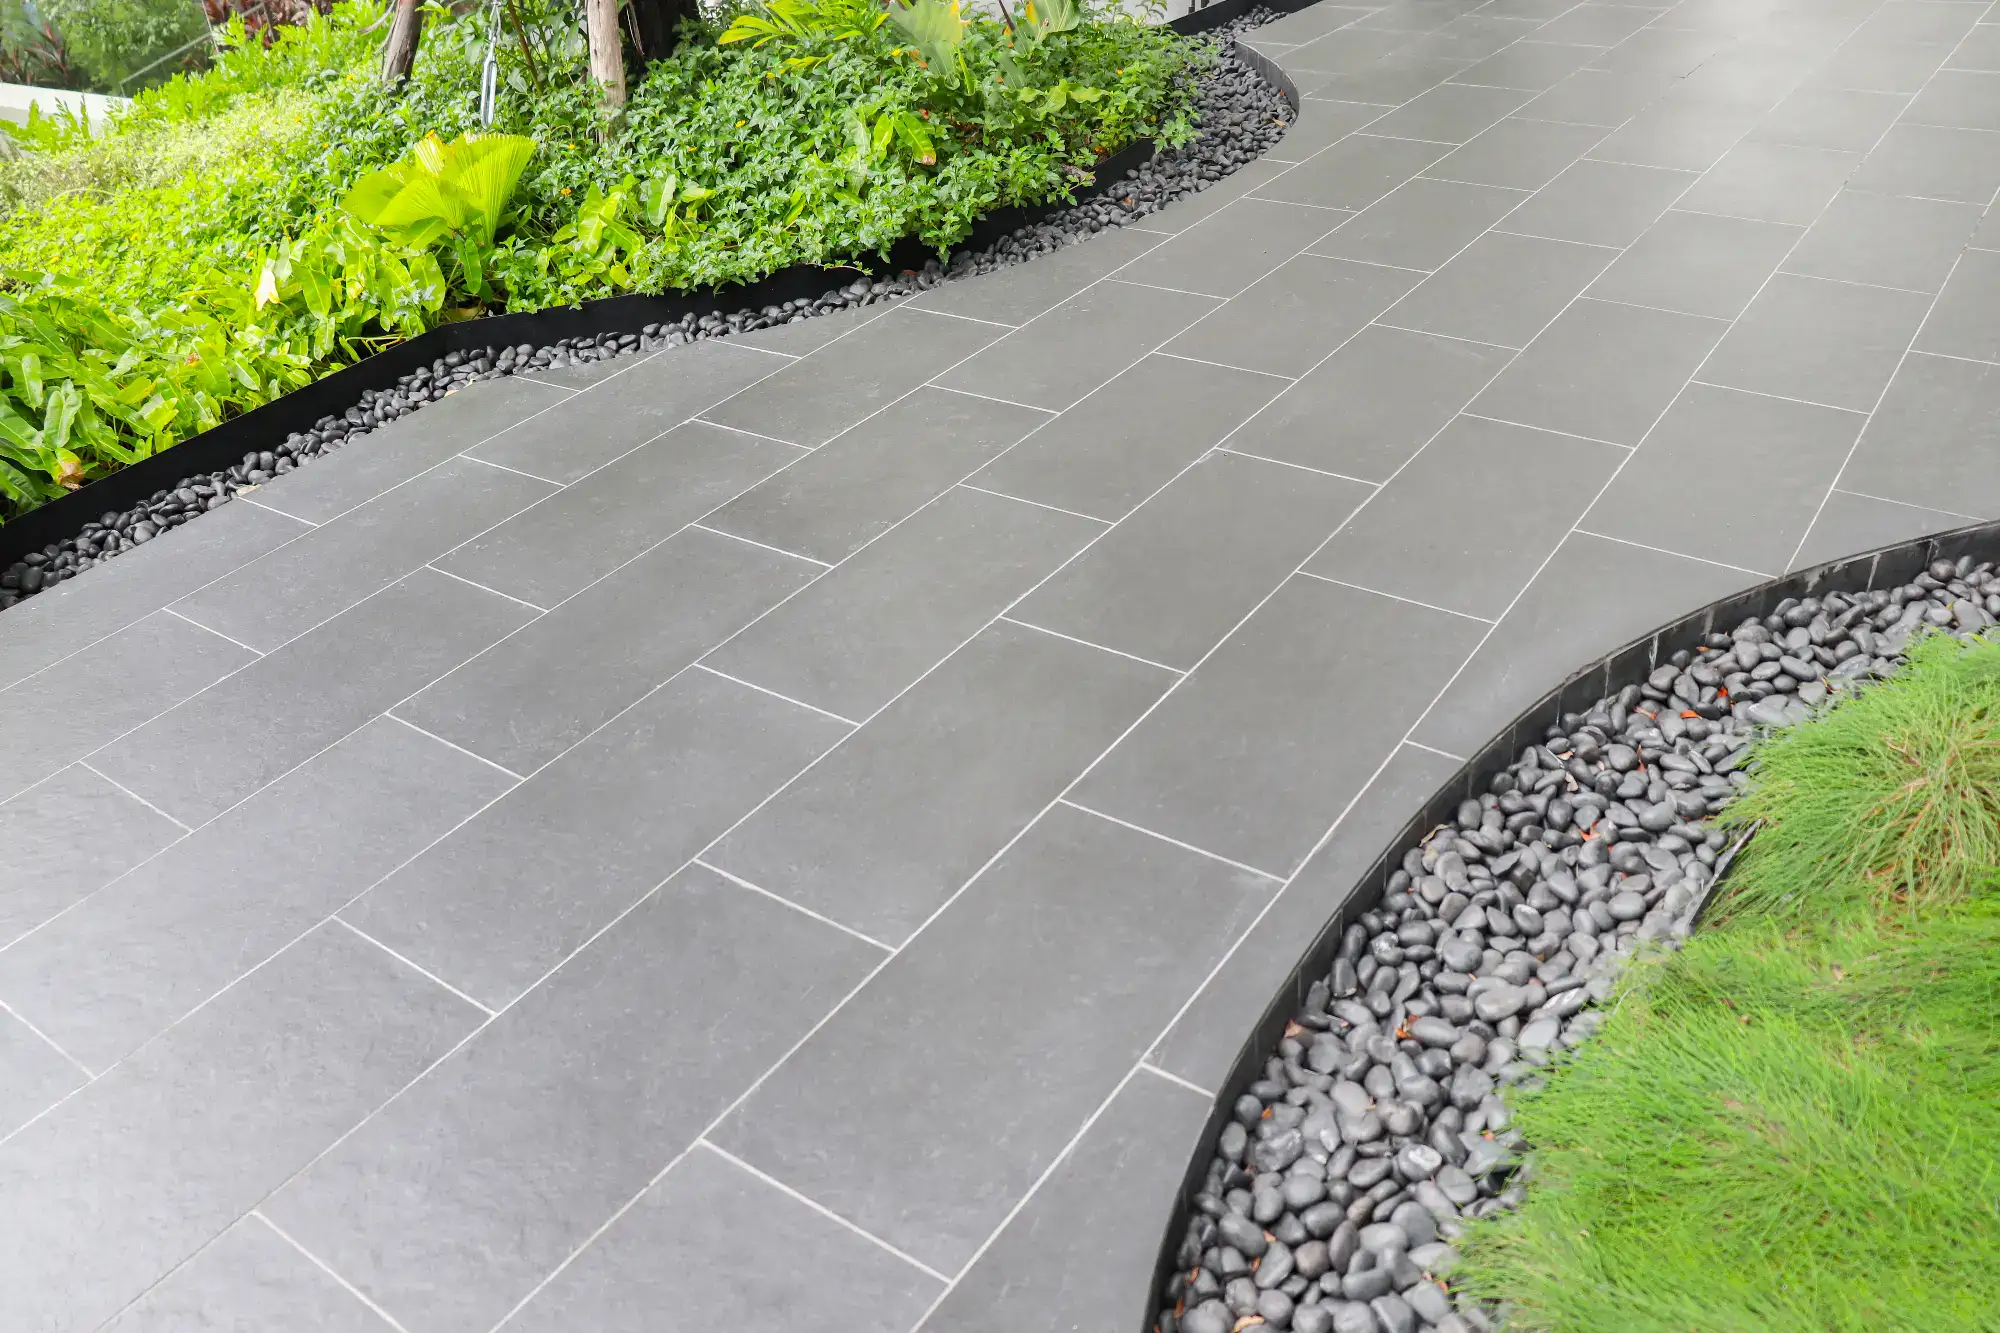
You get unlimited design options too. Choose from dozens of colors, textures, and sizes to create something that actually enhances your home instead of just providing a basic path.
Properly installed paver walkways last 25-30 years or more in Long Island’s climate. The key difference is base preparation and using pavers rated for freeze-thaw conditions.
Most concrete walkways in Suffolk County start showing cracks within 2-3 years. You end up patching, sealing, and eventually replacing the entire walkway—and it’s expensive and never looks right. With pavers, most installations require minimal maintenance beyond occasional joint sand replenishment every 3-5 years.
The maintenance difference is dramatic. Paver walkways are remarkably low-maintenance compared to concrete—you’ll need to replenish joint sand every 3-5 years and occasionally clean the surface with a pressure washer. If individual pavers get stained or damaged, they can be removed and replaced without affecting surrounding areas.
Sealing is optional but can enhance color and provide additional stain protection. Most homeowners find maintenance minimal compared to constantly patching and sealing concrete walkways. The long-term cost savings become obvious when you factor in the elimination of regular repairs and eventual replacement.
The base preparation makes all the difference between success and failure. DIY installations often fail because homeowners don’t excavate deep enough or properly compact the gravel base.
Professional installation requires specific equipment most homeowners don’t have access to. We use specialized equipment for excavation, compaction, and precise grading for drainage. The excavation depth, base material selection, and compaction techniques all affect whether your walkway will remain level and stable for decades.
We understand Suffolk County soil conditions and how to prepare foundations that won’t shift or settle. Long Island’s clay soil presents unique challenges that require proper base depth and drainage considerations. Without this knowledge, even high-quality pavers can fail prematurely.
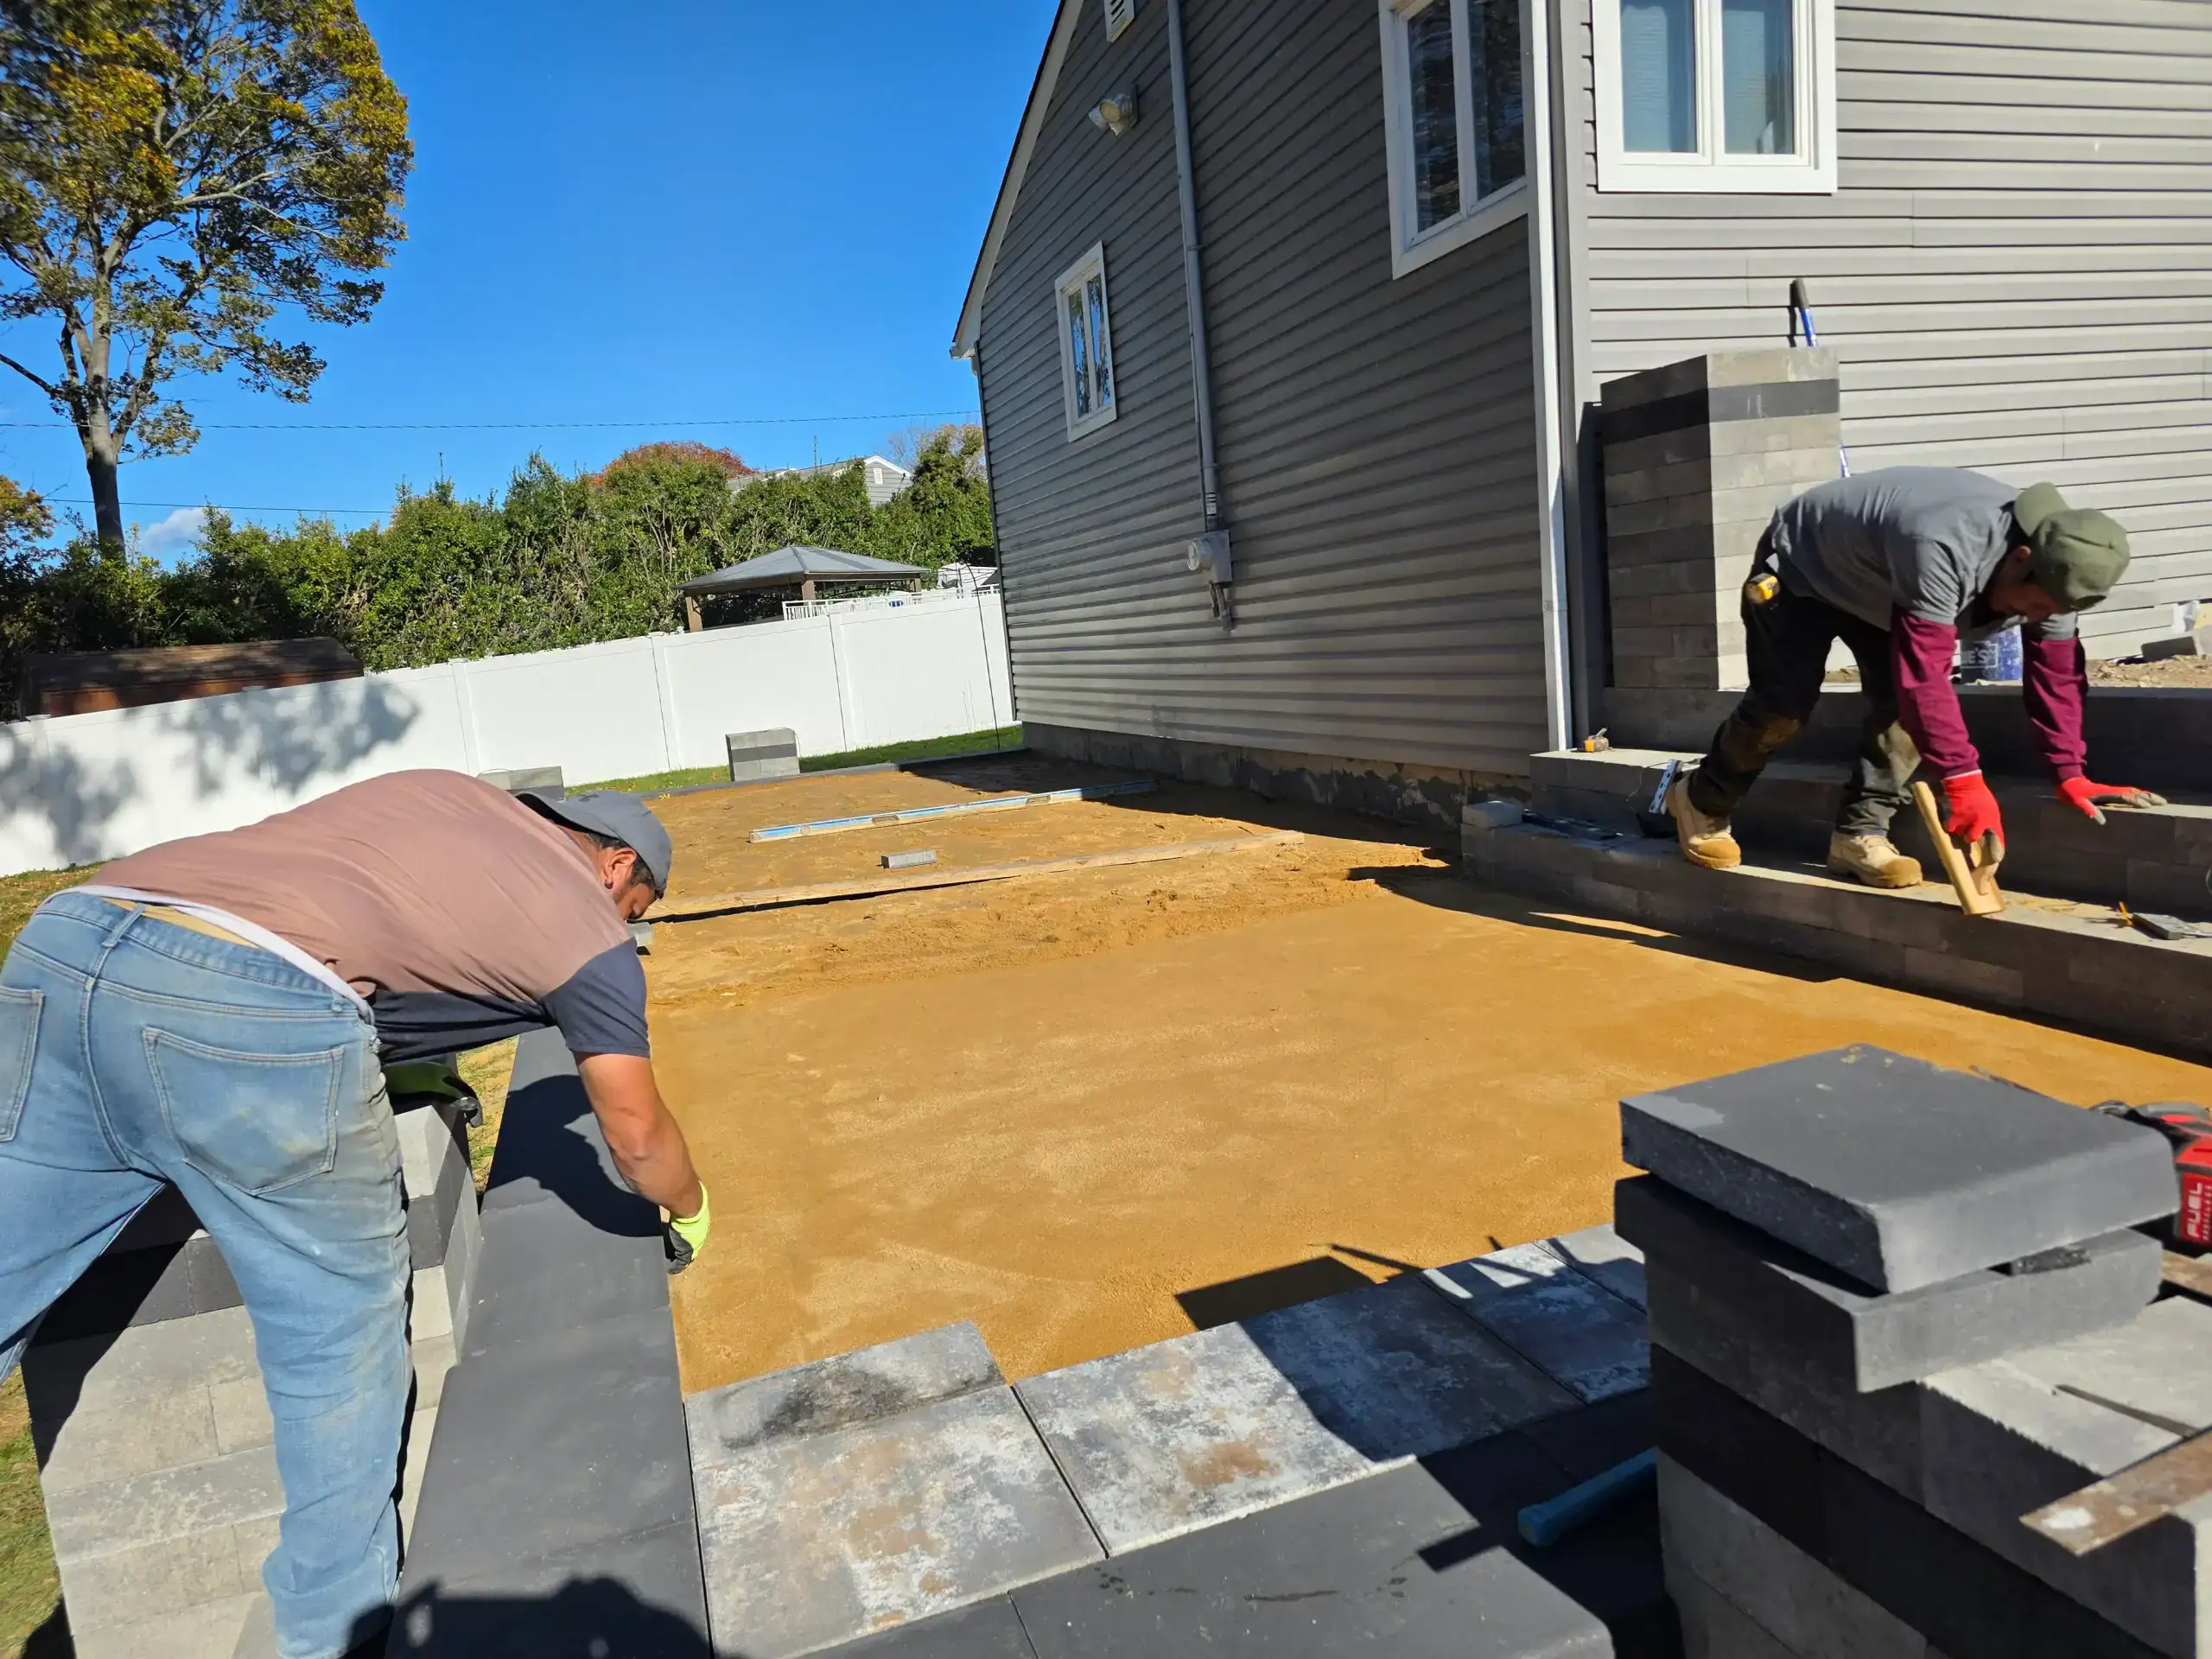
The installation process involves multiple critical steps. Professional installation includes 4-6 inches of crushed concrete base, compacted with a gas-powered plate compactor followed by a quarter-inch of fine mason sand for leveling. The final steps include paver installation, concreting edges in, and polymeric sand application for joint stability.
Each step affects the final result. Proper pitch ensures water drainage away from your home. Edge restraints prevent spreading. Joint sand locks everything together. Miss any step, and you’ll see premature failure that requires expensive repairs or complete reinstallation.
Want live answers?
Connect with a Corsino Construction expert for fast, friendly support.
Most residential walkway projects take 2-4 days depending on size and complexity. Understanding the process helps you know what to expect and why proper installation takes time.
We don’t rush the process because shortcuts lead to failures. Rush jobs often lead to shortcuts, so we plan adequate time for proper installation. Weather can also affect timing, especially during base preparation phases when moisture levels matter for proper compaction.
Our systematic approach ensures every element works together for long-term performance and visual appeal.
Every walkway project starts with proper excavation to remove existing concrete or unstable soil, then installing a compacted gravel base with the right depth for Long Island conditions. Day one involves excavation and base preparation.
The excavation depth depends on your paver thickness plus base requirements. The total depth depends on paver height along with the base, and pavers should sit at or slightly above ground level. You’ll need to match existing patio heights if connecting to other hardscaping.
Base preparation is where most DIY projects fail. We use 4-6 inches of crushed concrete base, compacted with a gas-powered plate compactor. The base material is recycled concrete aggregate (RCA) used as subbase for residential installations.
The RCA is installed in “lifts”—filling the area with 2-3 inches of base, compacting it, then repeating until reaching the top of the forms for a strong foundation. Hand tampers can’t achieve the compaction levels that gas-powered equipment provides. This step determines whether your walkway will remain stable for decades or develop settling issues within a few years.
Proper drainage consideration happens during excavation. We add 1.5 inches of pitch every 10 feet away from your home to ensure proper water runoff without creating a ramp feeling. This prevents water from pooling against your foundation while maintaining comfortable walking surfaces.
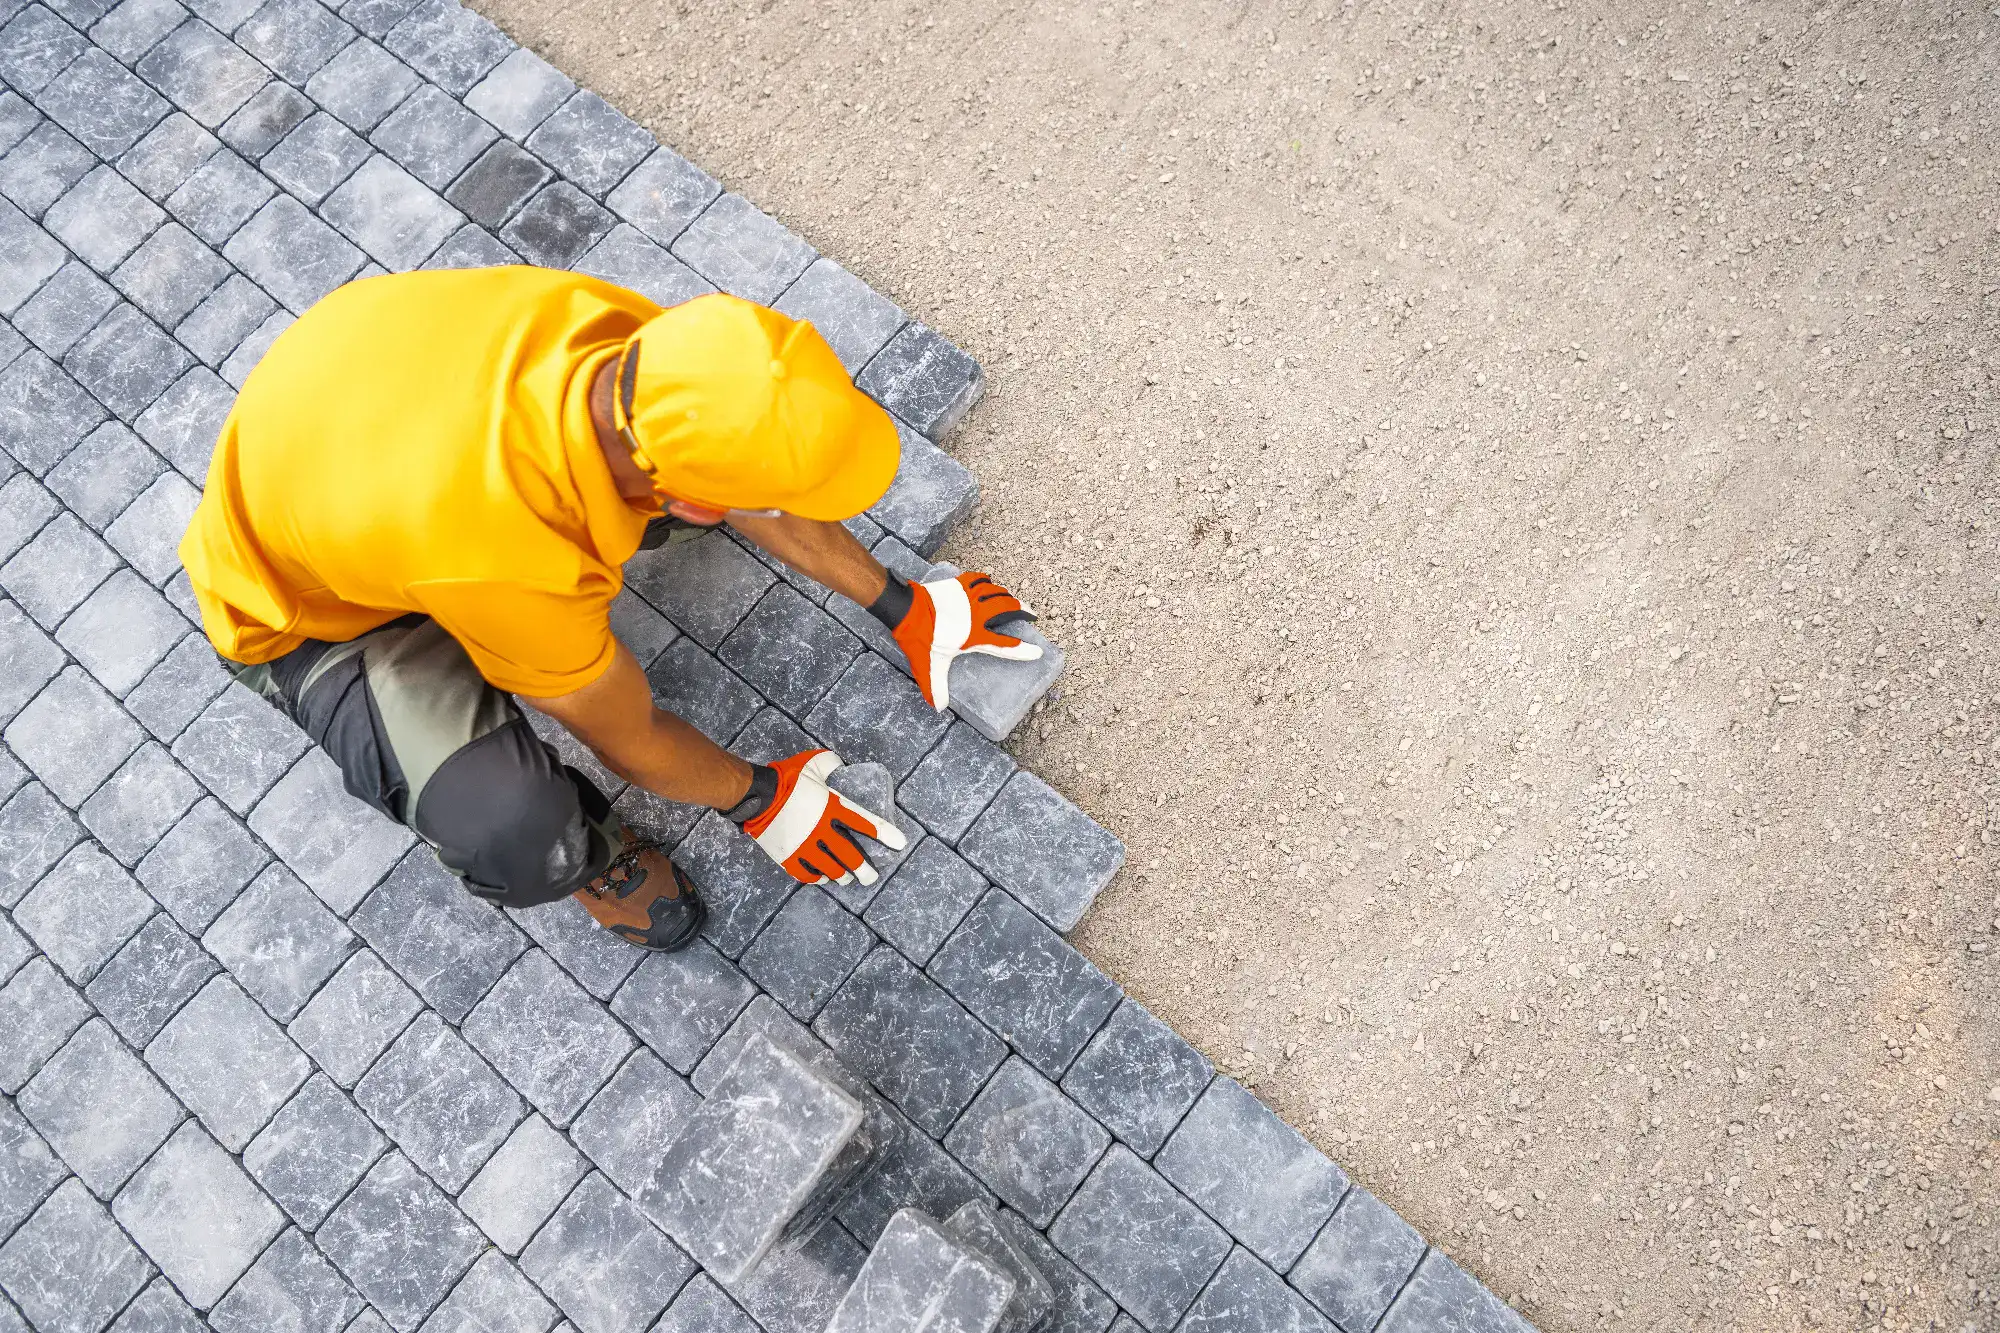
Day two covers sand leveling and paver installation. Fine sand gets spread over the compacted base, tamped, and screeded to a smooth finish. Since pavers have a 1/16th inch manufacturing tolerance, the sand allows for precise leveling.
Paver installation requires precision and experience. Installation starts against a hard, straight edge when possible, laying outer borders first and filling between borders. Small gaps of about 1/4 inch are maintained between blocks, using a straight edge to keep blocks in line.
Pattern consistency matters for both appearance and structural integrity. Traditional patterns include jack-on-jack or running bond, while advanced patterns like herringbone or pinwheel require more cutting. The pattern choice affects both visual appeal and the walkway’s ability to distribute weight loads.
The final day includes edging, joint sand, compaction, and cleanup. Edging gets installed along the perimeter with spikes every 12 inches. Edge restraints prevent the walkway from spreading over time, maintaining tight joints and preventing weed growth.
Polymeric sand application locks everything together. This specialized sand hardens when activated with water, creating a stable joint system that resists washout and weed growth. Proper application and activation ensure the joints remain stable through Suffolk County’s weather cycles.
Final compaction with a plate compactor seats the pavers firmly and activates the joint sand. This step ensures even surfaces and proper joint fill that will perform for decades.
The contractor you choose determines whether you get decades of trouble-free performance or expensive problems within a few years. Professional contractors understand Suffolk County soil conditions and how to prepare foundations that won’t shift or settle.
We deliver professional paving services for lasting beauty and quality, with over 24 years of experience in Suffolk County home improvements. Each project starts with proper excavation and base preparation because that’s what separates walkways that last from ones that fail.
Look for contractors who use licensed in-house professionals instead of subcontractors, provide fixed pricing with no hidden fees, and maintain clear communication throughout your project. The right approach transforms your entrance from a maintenance headache into a beautiful pathway that enhances your home’s value and your daily life.
Article details:
Share:
Continue learning: