Custom Tile Installation Suffolk County NY

Tile Work That Actually Lasts
Your kitchen or bathroom deserves tile installation done right the first time—with proper waterproofing, level surfaces, and grout that won’t crack. Licensed professionals, fixed pricing, no subcontractors.
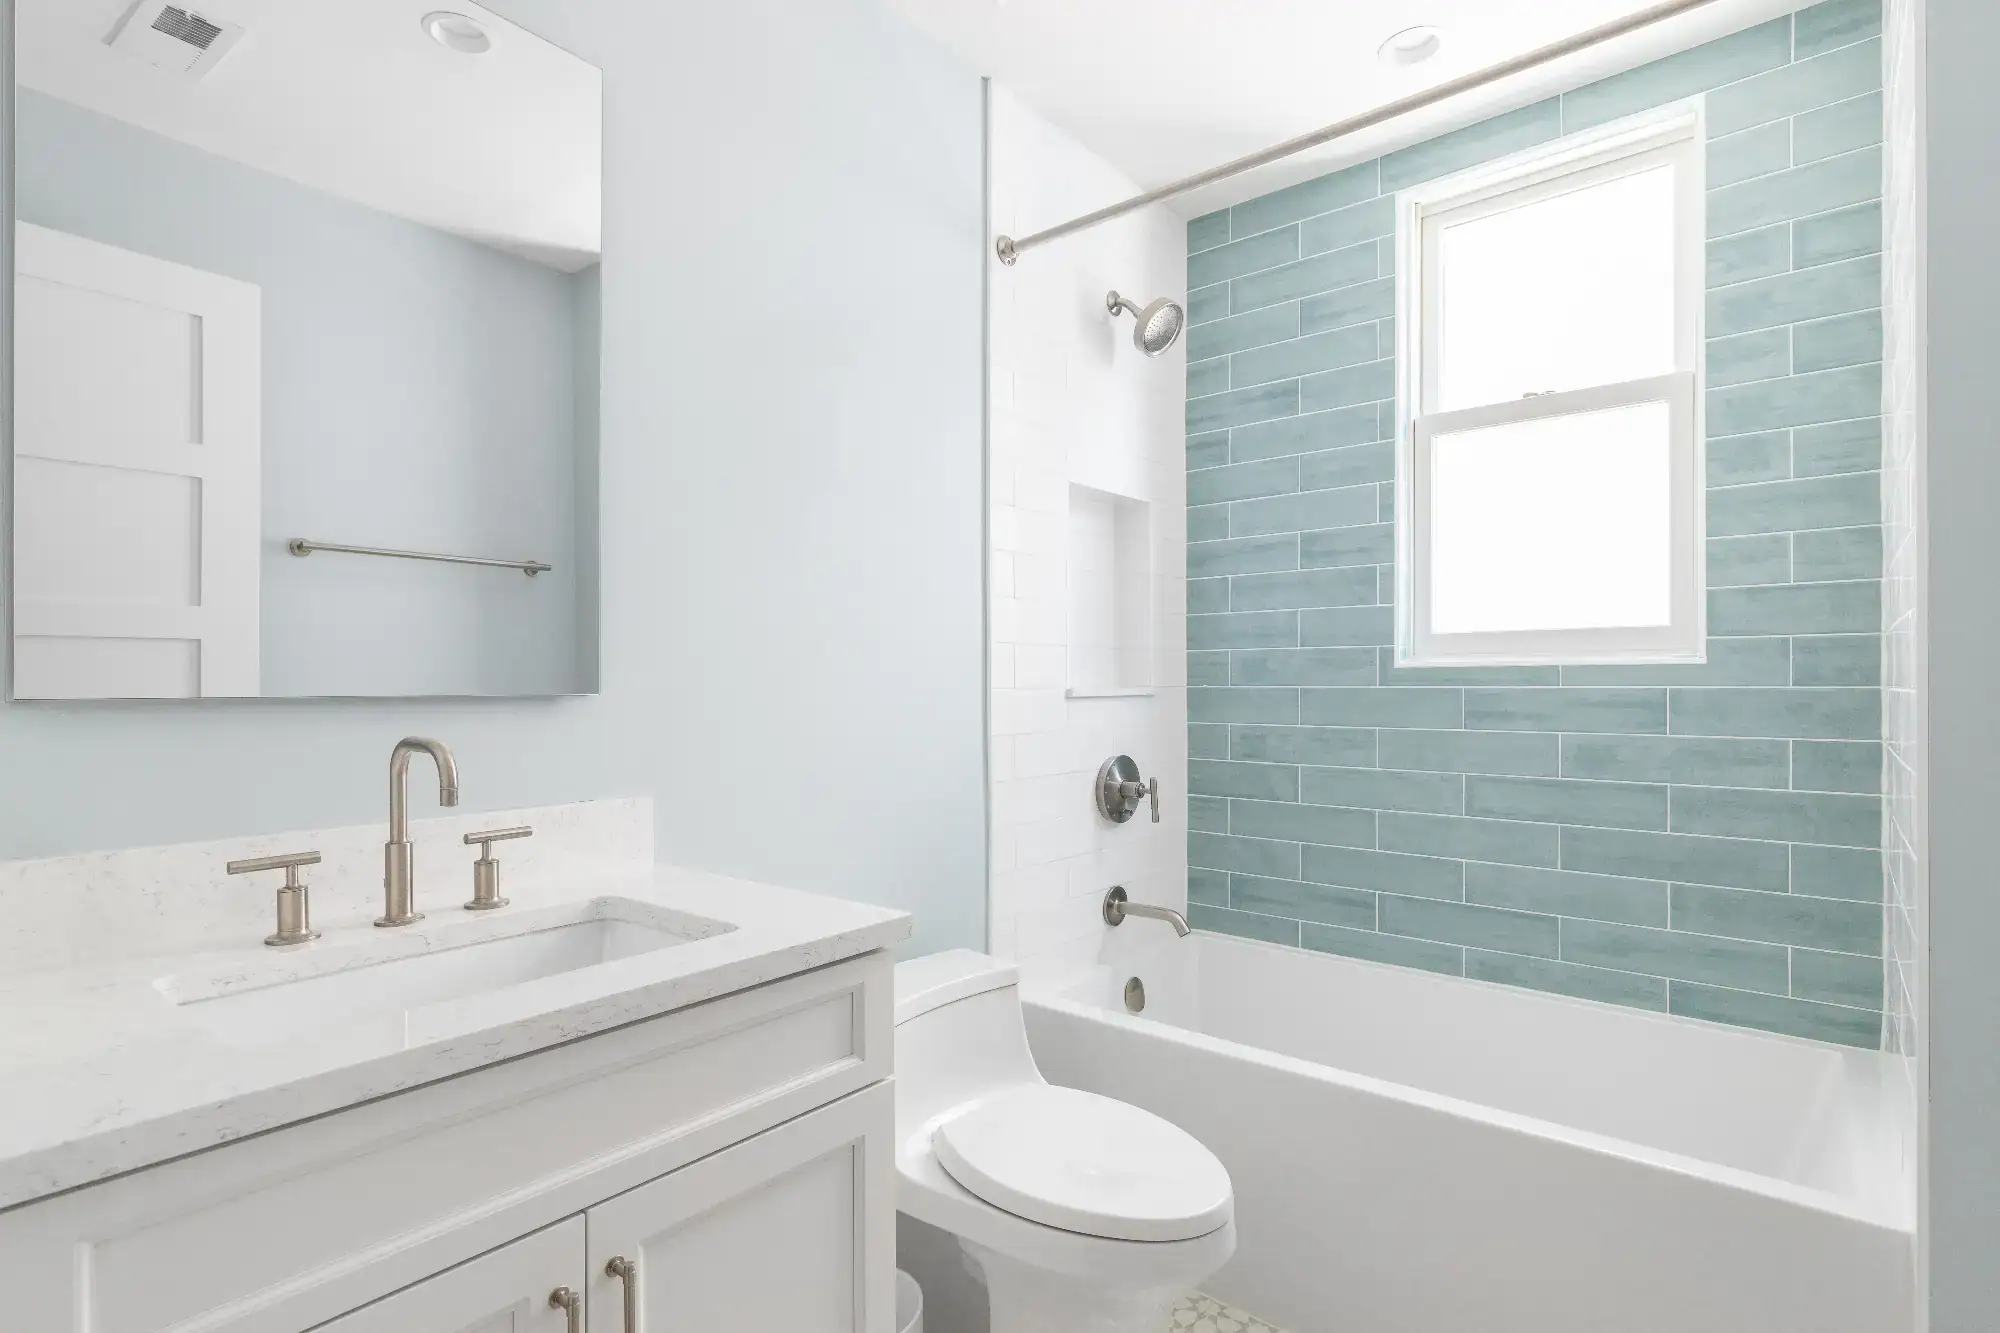
Bright bathroom with a white vanity, quartz countertop, brushed nickel fixtures, a toilet, and a bathtub with blue subway tile backsplash and window above. Expertly designed by a home remodeler Suffolk County, NY. Light blue walls and patterned floor tiles.

Licensed Crews Only

Every installer works directly for us. No subcontractors means you get consistent quality and someone accountable when it matters most.

Over 20 Years Established

Since 2000, we've completed tile projects across Suffolk County. Experience shows up in the details that prevent callbacks.

Fixed Pricing Upfront

Know exactly what your project costs before work starts. No surprise charges, no hidden fees, no budget creep halfway through installation.

Clean Job Sites Daily

You still live here during construction. We keep work areas organized and clean so your daily routine isn't completely disrupted.
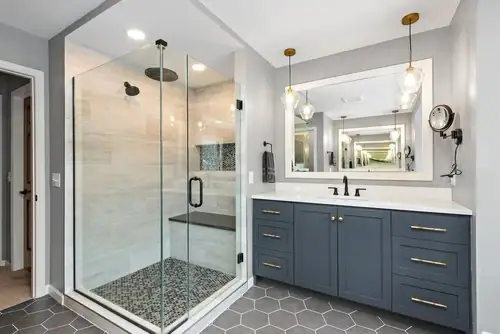
Modern bathroom by a skilled home remodeler in Suffolk County, NY, featuring a glass shower enclosure, black fixtures, gray double-sink vanity with gold hardware, a large mirrored wall with pendant lights, and dark hexagon tile flooring.

Professional Tile & Backsplash Contractors

The Difference Between Tile and Tilework

Anyone can stick tiles to a wall. But proper tile installation means waterproof substrates, perfectly level surfaces, grout mixed to the right consistency, and spacing that prevents future cracking. It’s the difference between a bathroom that lasts 20 years and one that needs repair in three. We handle custom tile and backsplash installation for kitchens, bathrooms, showers, and floors across Suffolk County. From subway tile showers to mosaic backsplashes, every project gets the same foundation: proper prep, professional materials, and installation that holds up to moisture, daily use, and time. This isn’t decorative work. It’s structural. When tile fails, it’s expensive to fix and disruptive to replace. Getting it right from the start saves you both.

Hear from Our Customers

Why Proper Installation Matters

What You Actually Get

Beyond nice-looking tile, professional installation protects your home from water damage, prevents costly repairs, and gives you surfaces that function the way they should.

Your shower walls won't develop soft spots or hidden mold because waterproofing was done correctly before any tile went up.

Tiles stay level without lippage, so you're not catching your foot on uneven edges or dealing with grout that cracks prematurely.

Grout lines remain sealed and consistent, which means easier cleaning and no discoloration that makes your backsplash look dated.

You know the total cost before work starts, so there's no scrambling to cover unexpected expenses mid-project.

The same licensed crew handles your project from start to finish, giving you one point of contact instead of rotating subcontractors.

Your home stays livable during installation because job sites are cleaned daily and work areas stay organized.

A bold white number 1 centered inside a solid black circle, on a plain white background—ideal for showcasing your home remodeler Suffolk County, NY brand with modern simplicity.

Share project details

Call us or get a free online quote to help us identify your project needs.

A bold white number 2 centered inside a solid black circle on a plain background, ideal for NY home remodeler Suffolk County branding.

We'll follow up

If you requested an online quote, you can expect a callback within 24-48 hours of your request.

A bold white number 3 centered inside a solid black circle on a white background, perfect for any home remodeler Suffolk County, NY seeking striking design elements.

The floor is yours

Connect with an expert and share all project specifics.

A large white number 4 centered inside a solid black circle, resembling a bold logo often used by top home remodelers in Suffolk County, NY, with no other markings or background elements.

Plan your project

Like what you hear? We'll provide next steps and expert guidance.
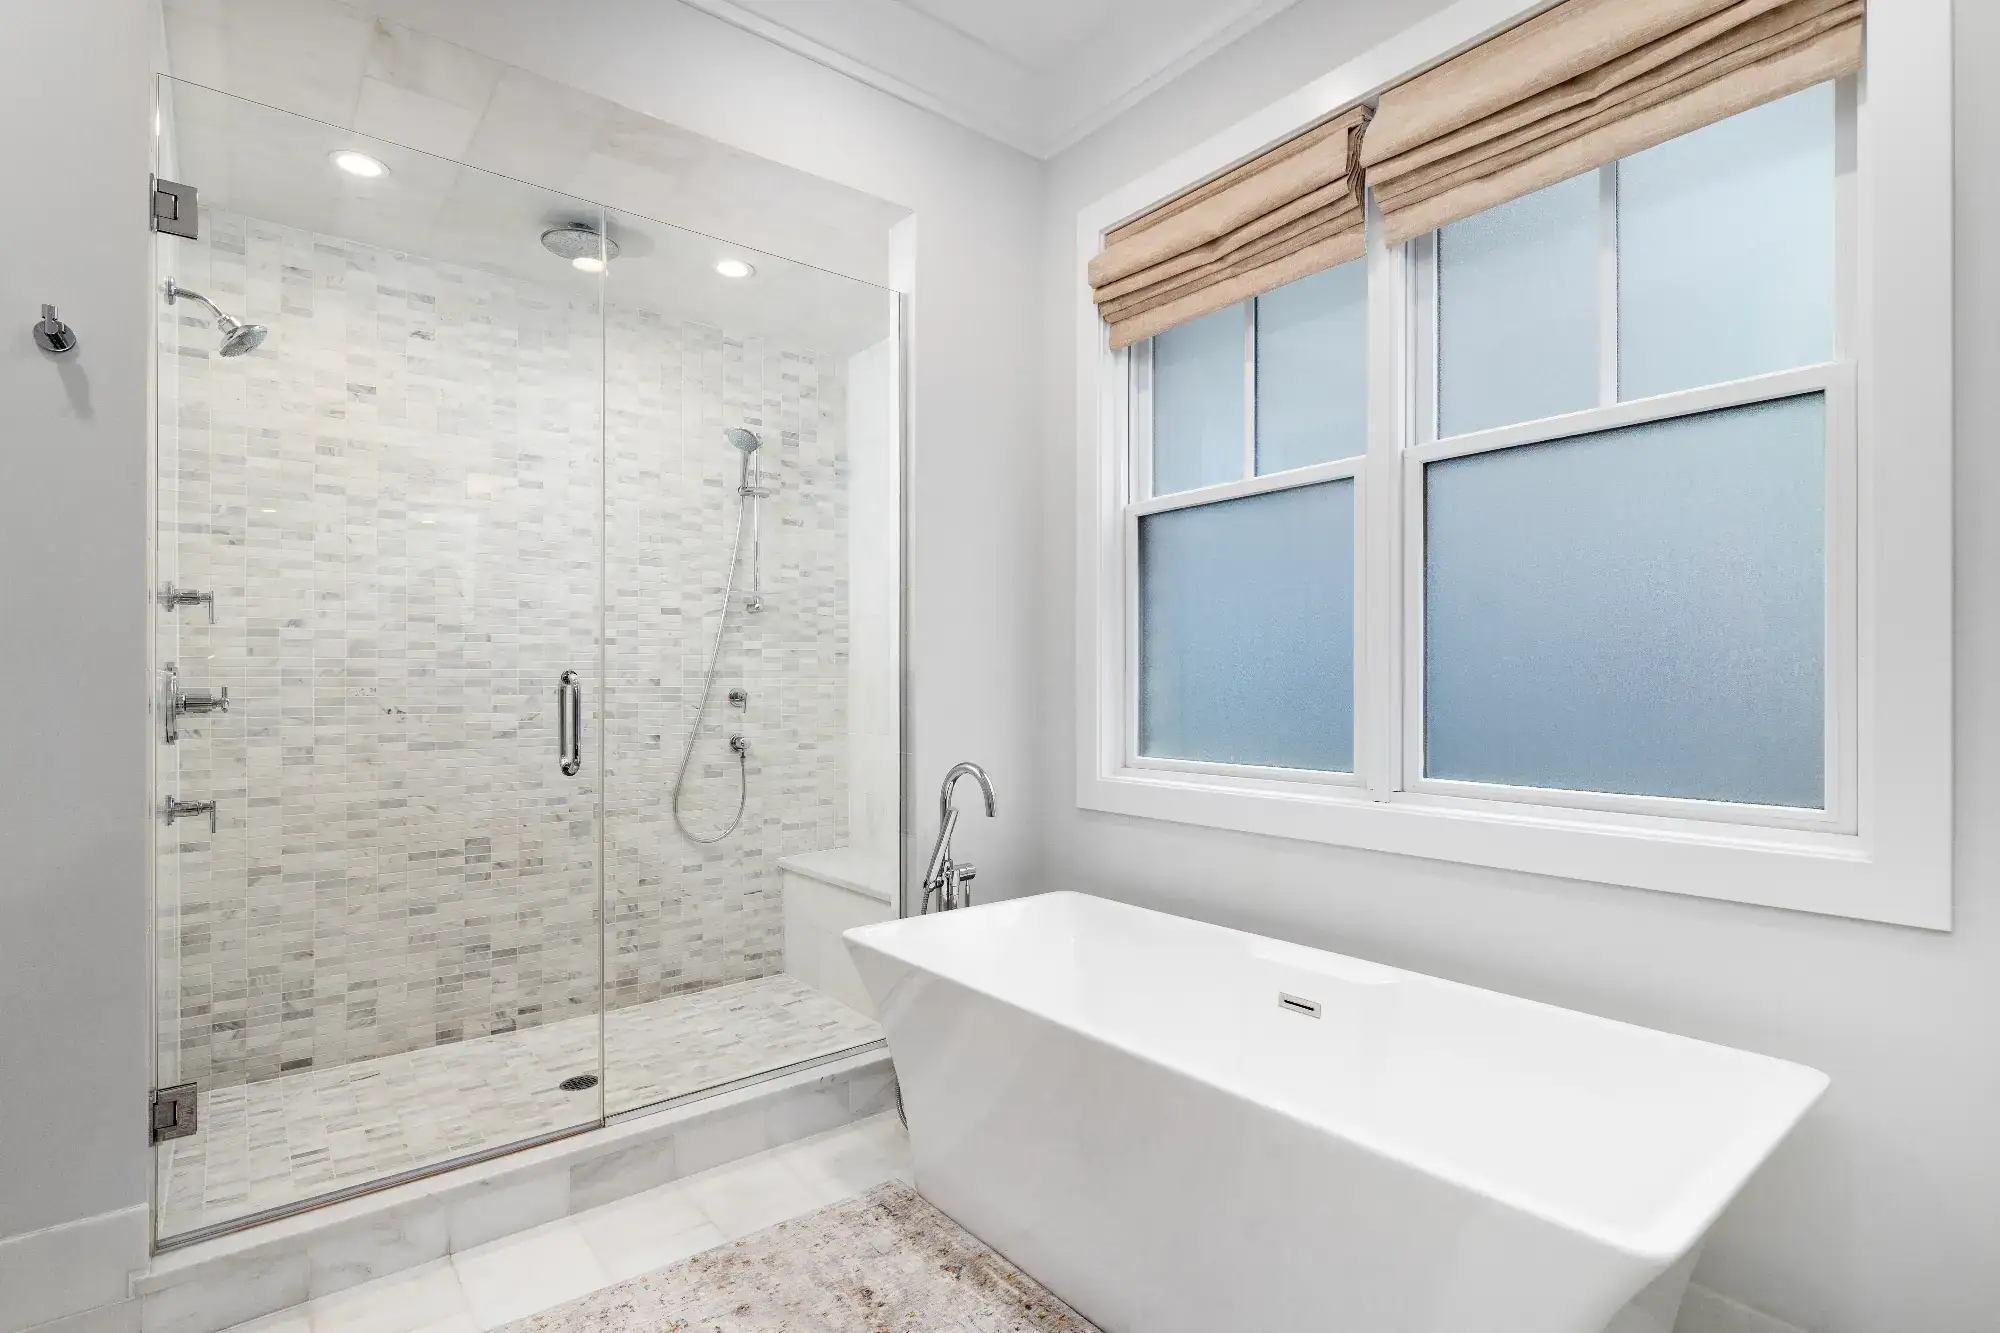
This modern bathroom by a top home remodeler in Suffolk County, NY, features a glass-enclosed shower with white and gray tiles, a freestanding white bathtub, large frosted windows, and a beige Roman shade for a bright, clean look.

Waterproof Tile Installation Process

Why Waterproofing Isn't Optional

Tile itself resists water. Grout doesn’t. Neither does the drywall or substrate behind your tile. Without proper waterproofing membranes, moisture works its way through grout lines, into walls, and eventually causes mold, rot, and structural damage you won’t see until it’s expensive to fix. We install waterproof barriers before tile goes up—whether that’s sheet membranes, liquid-applied systems, or foam board depending on the application. Shower pans get sloped correctly. Seams get sealed. Corners get reinforced. It’s not the visible part of the job, but it’s the part that determines whether your tile installation lasts two years or twenty. This is especially critical in Suffolk County homes where humidity and moisture are constant factors. Cutting corners on waterproofing to save a few hundred dollars now can cost you thousands in repairs later. We don’t skip this step.

Custom Backsplash Design Suffolk County

From Subway Tile to Custom Mosaics

Backsplash installation requires precision. You’re working around outlets, under cabinets, and often with patterns that need to line up perfectly. Cuts need to be clean. Spacing needs to be consistent. And the layout needs to be planned before adhesive touches the wall. We handle everything from classic subway tile in brick or stacked patterns to intricate mosaic designs and large-format porcelain. The process starts with surface prep—cleaning, leveling, and ensuring walls are ready for adhesive. Then layout planning to avoid awkward cuts or off-center patterns. Installation happens in sections so adhesive doesn’t dry before tiles are set. Grout gets mixed to the right consistency, applied evenly, and sealed properly. Whether you’re updating a kitchen backsplash or designing a statement wall in your bathroom, the same principles apply: measure twice, cut once, and don’t rush the details. That’s how you end up with a backsplash that looks intentional, not improvised.
Modern bathroom with large windows, white countertops, double sink, glass-enclosed shower, potted plant, and a view of the ocean and trees at sunset—designed by a top home remodeler Suffolk County trusts.
Custom Tile & Backsplash Installation FAQs

Common Questions About Our Service

Most kitchen backsplash installations take two to three days for a standard-sized area. Bathroom tile work depends on the scope—a shower surround might take three to five days when you account for waterproofing, installation, and grout curing time. Larger projects like full bathroom remodels with floor and wall tile can run one to two weeks. The timeline also depends on the complexity of the pattern, the type of tile, and whether we're working around existing fixtures or doing a full gut renovation. We give you a realistic timeline during the planning phase and stick to it. Delays usually happen when homeowners change material selections mid-project or when we uncover underlying issues like water damage that needs to be addressed before tile can go up. If your project stays on scope, we stay on schedule.
Kitchen backsplashes don't need the same level of waterproofing as showers, but the wall prep still matters. The area behind your stove and sink gets exposed to grease, heat, moisture, and splashes daily. If the substrate isn't sealed or if grout isn't applied correctly, moisture can work its way behind the tile over time. For most kitchen backsplashes, proper surface prep and quality grout sealing is sufficient. For areas that see heavy water exposure—like behind a sink or in a butler's pantry with a wet bar—we recommend additional moisture barriers. Showers and tub surrounds absolutely require full waterproof membranes because they're constantly wet. Skipping waterproofing in a shower isn't a maybe-it-fails situation. It's a when-it-fails situation. We assess your specific application and recommend what's actually needed, not what's easiest to install.
Porcelain is denser, less porous, and more durable than ceramic. It's fired at higher temperatures, which makes it harder and more water-resistant. For high-moisture areas like showers or floors that see heavy foot traffic, porcelain performs better long-term. Ceramic tile costs less and works well for wall applications like backsplashes or bathroom walls that don't get soaked constantly. Both can look nearly identical once installed, so the choice often comes down to where you're using it and your budget. Porcelain also holds up better to temperature changes, which matters in Suffolk County where seasonal shifts can be dramatic. If you're tiling a shower floor, porcelain is the better call. For a kitchen backsplash that's mostly decorative, ceramic might be perfectly fine. We help you choose based on the application, not just the price tag, so you're not overpaying for features you don't need or under-buying for areas that demand durability.
Check a few things. First, surface prep—if they're tiling directly over drywall in a shower without waterproofing, that's a red flag. Second, look at the layout. Tiles should be level, with consistent spacing and no lippage where one tile sits higher than another. Third, watch how grout is mixed and applied. It should be the right consistency, not too watery, and cleaned properly without leaving haze or excess buildup. Fourth, ask about their process. A quality installer will explain waterproofing steps, curing times, and why certain materials are being used. If they rush through explanations or can't answer basic questions about substrate prep, that's a warning sign. Finally, check references and look at completed projects. Photos can be staged, but talking to past clients gives you real insight into how the installer handles problems, timelines, and communication. Licensed professionals who've been in business for years tend to have systems in place. Fly-by-night contractors often skip steps to finish faster and move on to the next job.
Matching existing tile depends on a few factors. If your tile is a current product that's still manufactured, we can often source it and blend new installation with old. If it's discontinued or custom, matching becomes harder. Tile batches also vary slightly in color and finish, so even the same product from a different production run might not match perfectly. In some cases, we can create a deliberate design transition—using your existing tile in one area and introducing a new complementary tile as an accent or border. This works well when you're expanding a backsplash or adding tile to an adjacent area. For repairs where a few tiles are cracked or damaged, we do our best to source matching pieces or salvage tiles from less visible areas to patch more prominent spots. The honest answer is that seamless matching isn't always possible, especially with older installations. We'll assess your specific situation and give you realistic options—whether that's sourcing a match, creating a design workaround, or recommending a full refresh if the difference would be too noticeable.
Tile itself is low maintenance. Regular cleaning with mild soap and water keeps it looking good. Grout requires more attention. We seal grout after installation, but that seal wears down over time, especially in showers and high-traffic areas. Resealing grout every one to two years helps prevent staining and moisture penetration. For daily upkeep, wipe down shower walls after use to reduce soap scum and mineral buildup. In kitchens, clean backsplash grout lines periodically to prevent grease accumulation. Avoid harsh acidic cleaners on natural stone tile—they can etch the surface. For porcelain and ceramic, most standard cleaners are fine. If grout starts to crack or crumble, address it quickly. Small repairs are easy. Waiting until water gets behind the tile turns a small fix into a big problem. The key is consistency. A few minutes of maintenance regularly beats ignoring it until you need a full restoration. We provide care instructions specific to your tile type and grout selection when your project wraps up.
A bold white number 1 centered inside a solid black circle, on a plain white background—ideal for showcasing your home remodeler Suffolk County, NY brand with modern simplicity.

Site Assessment and Planning

We evaluate your space, discuss design preferences, confirm measurements, and provide fixed pricing. You'll know the timeline and total cost before work begins.

A bold white number 2 centered inside a solid black circle on a plain background, ideal for NY home remodeler Suffolk County branding.

Surface Prep and Waterproofing

Walls or floors get prepped, leveled, and waterproofed where needed. This foundation work determines whether your tile lasts or fails down the line.

A bold white number 3 centered inside a solid black circle on a white background, perfect for any home remodeler Suffolk County, NY seeking striking design elements.

Installation and Finishing

Tile gets installed with proper spacing and level alignment. Grout is applied, cleaned, and sealed. Job site is cleaned and final walkthrough completed.